Rocks in Round

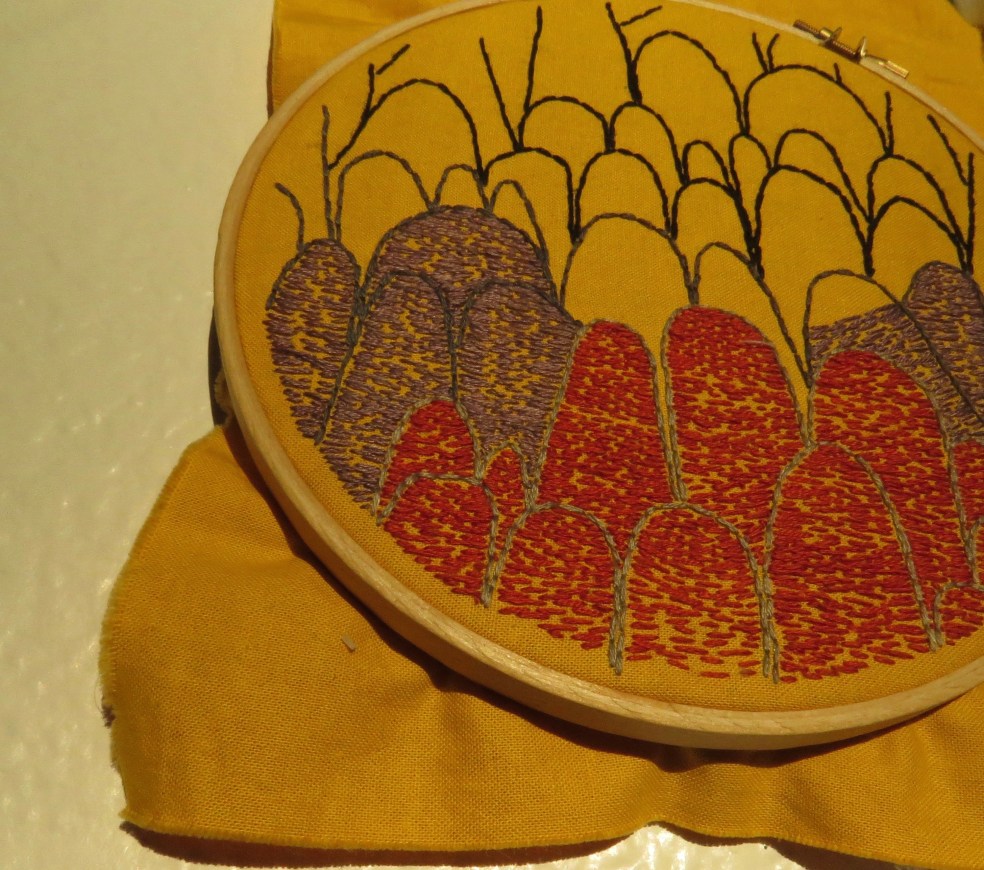
Rain clouds stopped by last week allowing us to trek midday with the pups to Red Rock Canyon. It’s a stunning landscape with much for the eye to catch, making me itch for extra time out there to hike, think and imagine.

IMG_6855

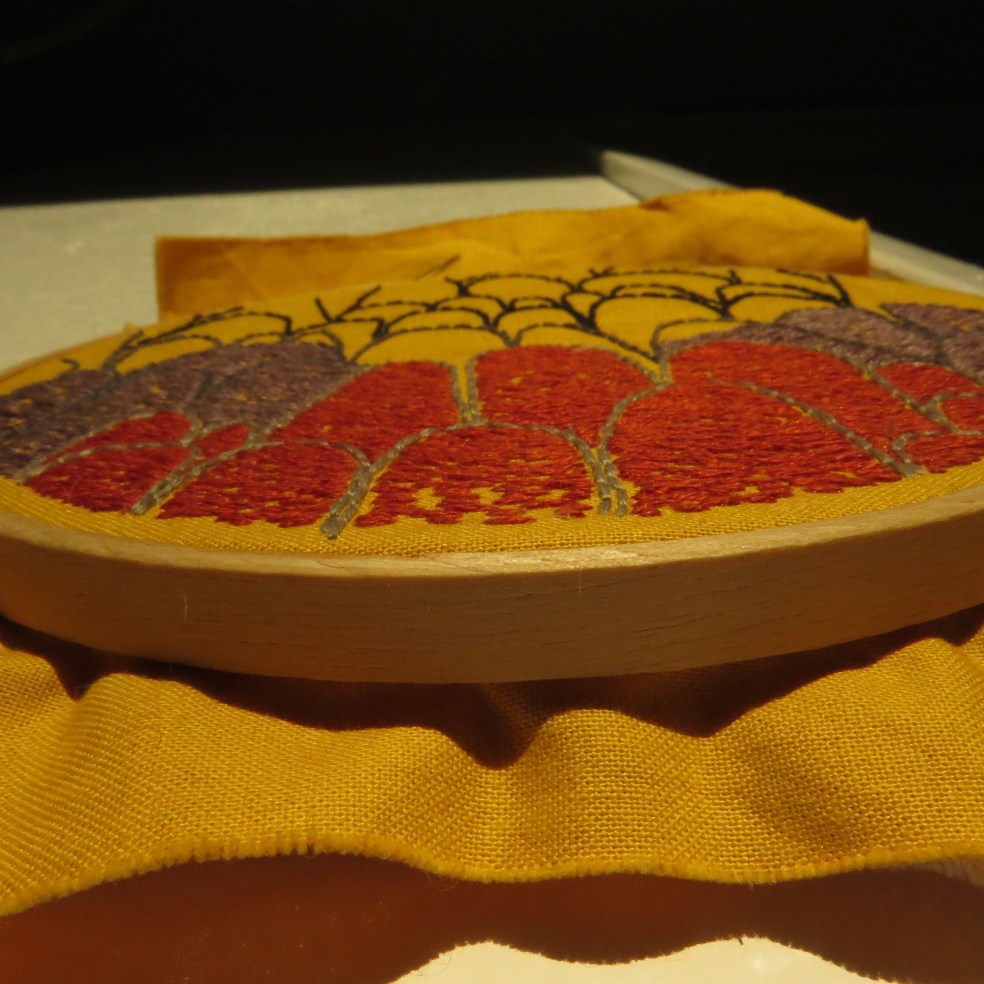
I sat down immediately when home and started stitching this idea. The coloring stitches aren’t finished yet, but the piece is pleasing to the eye already.

IMG_6856

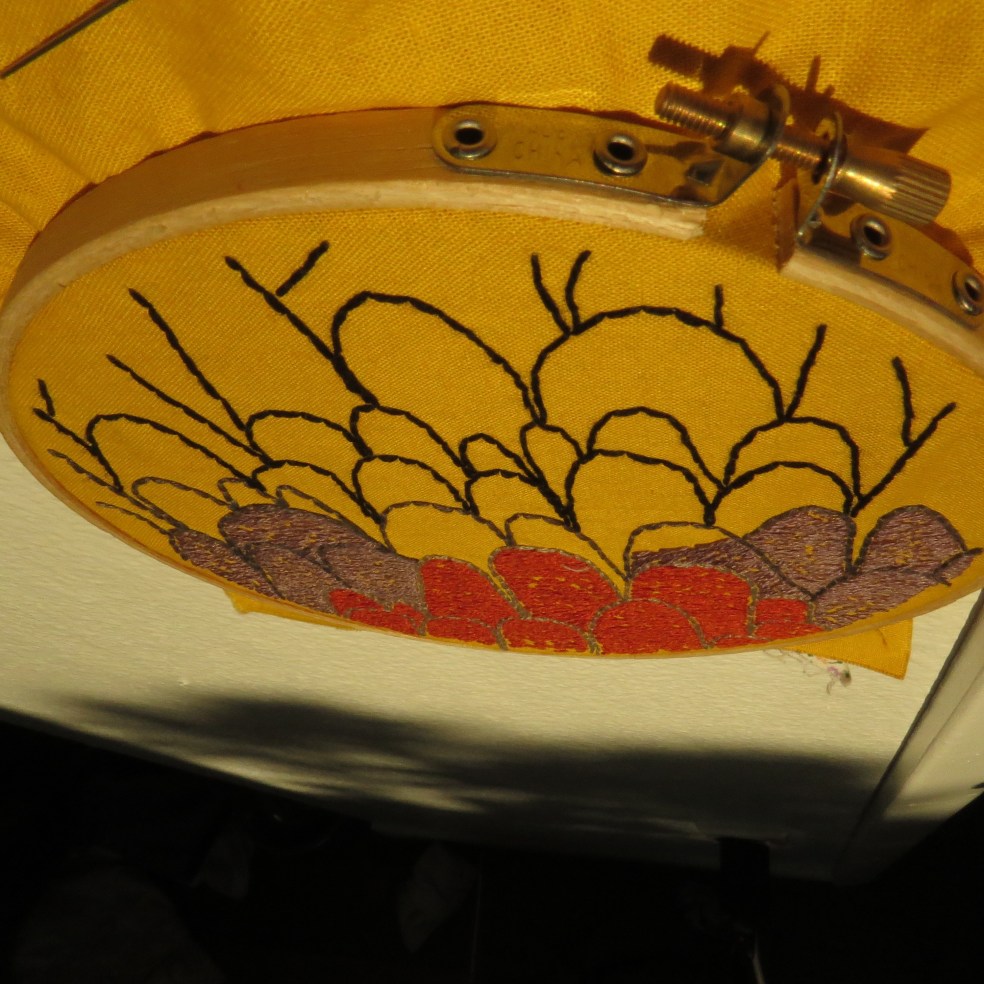
Back stitch and straight stitch are being employed here. The thread is DMC.

IMG_6858

IMG_6862

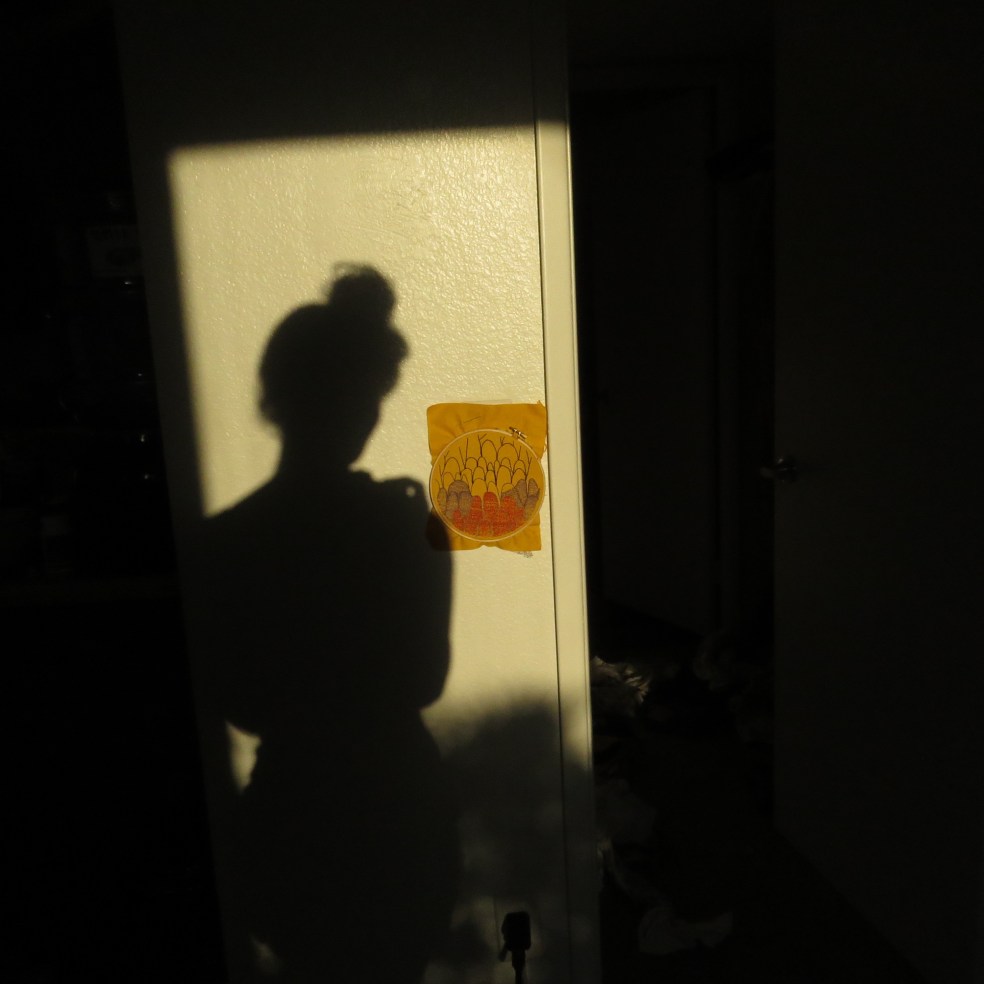
The photography professor I studied with encouraged shooting around 7 AM & PM for interesting lighting. Today I caught shadows.

IMG_6868

Husband!

IMG_6880

How was your weekend? What did you make?

Prepping to Applique

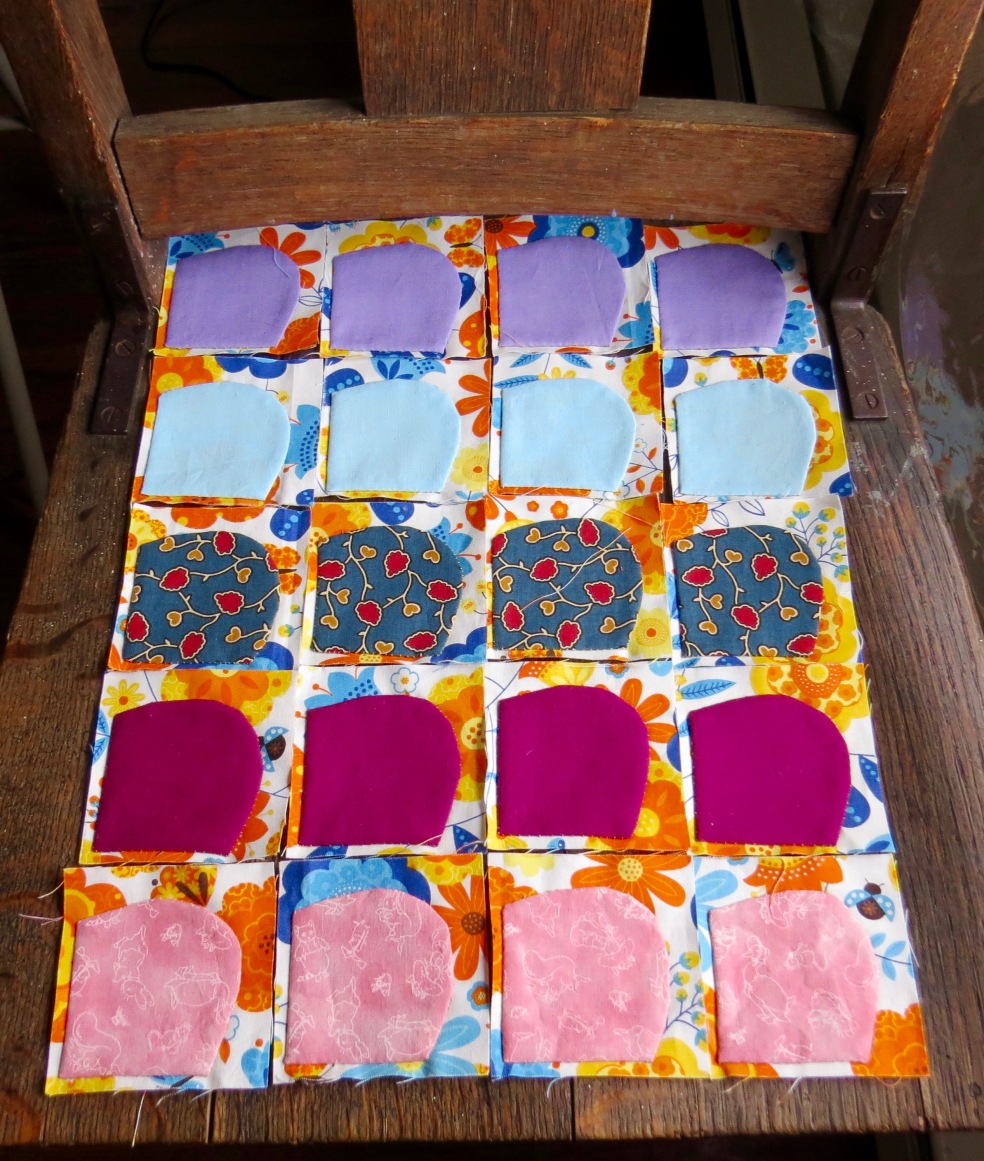
I find prepping applique pieces relaxing. After today’s beautiful sunrise, not unlike these colors, I am ready to get to work basting. A couple of quilts are in my future for the new apartment, because we moved when we were only staying for vacation: life has a natural flow and I can’t, and don’t want to, stop it.

The printed fabric is Kim Anderson’s Tidal Lace from Windham Fabrics. I picked it up at Super Buzzy last time I was in California. Both fabric and store are amazing.

What have you been making lately?

IMG_6250

Design-in-Progress: Applique Pattern

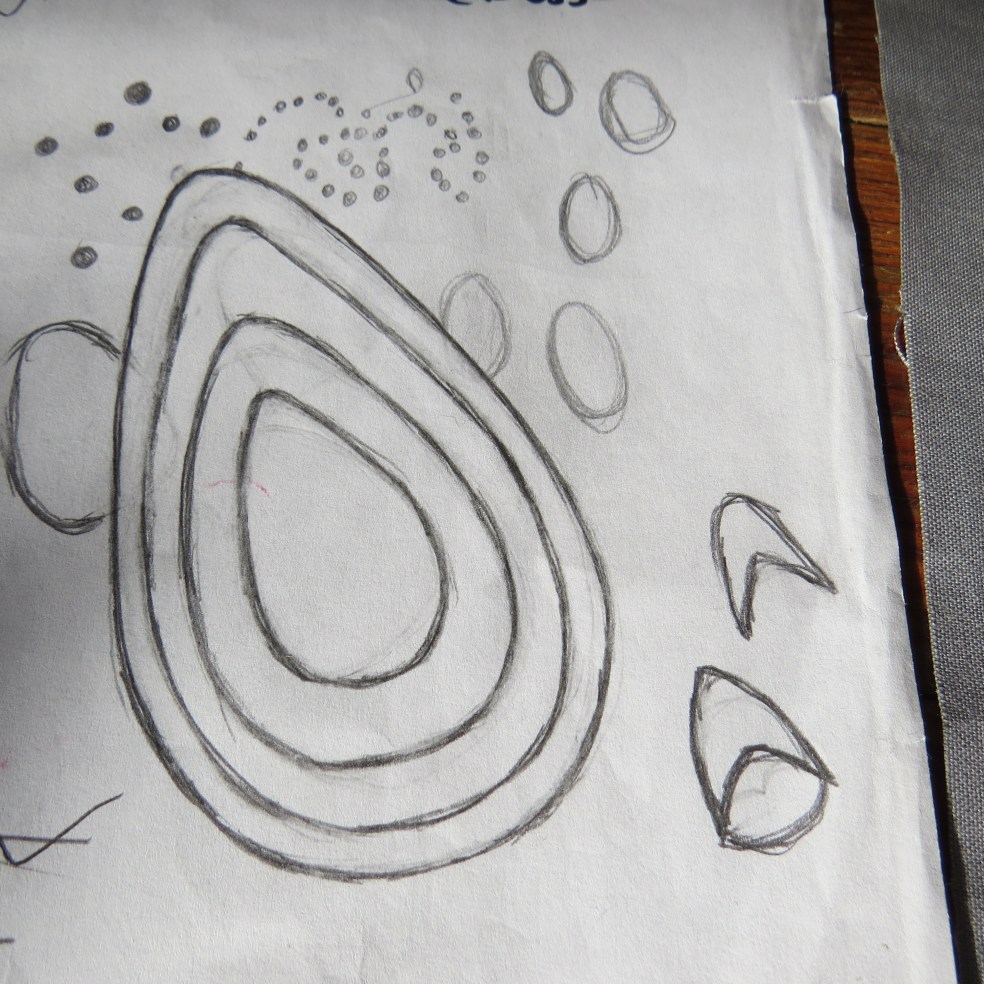
This pattern, Eggbert, came to me while I waited for students to filter in for conferences. Thirty seconds downtime doesn’t allow much room for my critical brain to inhibit the creative part and suddenly I had eggs drawn on the paper.

IMG_5503.jpg

This isn’t surprising. As a child I was prone to carrying an egg around. I love eggs. They have such strength and weight. They move internally. They are food. They are life. They come in many colors. They can be dyed and covered in hot wax, or hollowed, stuffed with confetti, and pasted over again for a spring burst.

IMG_5507.jpg

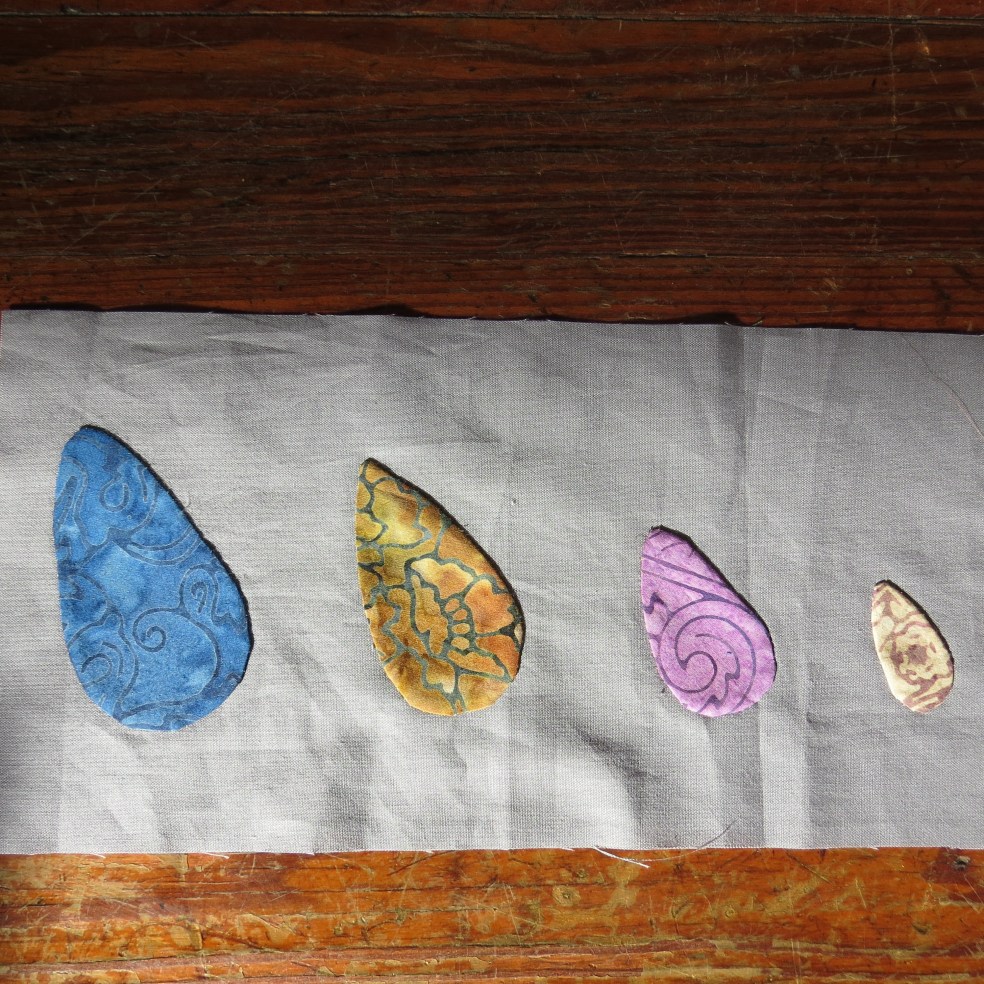
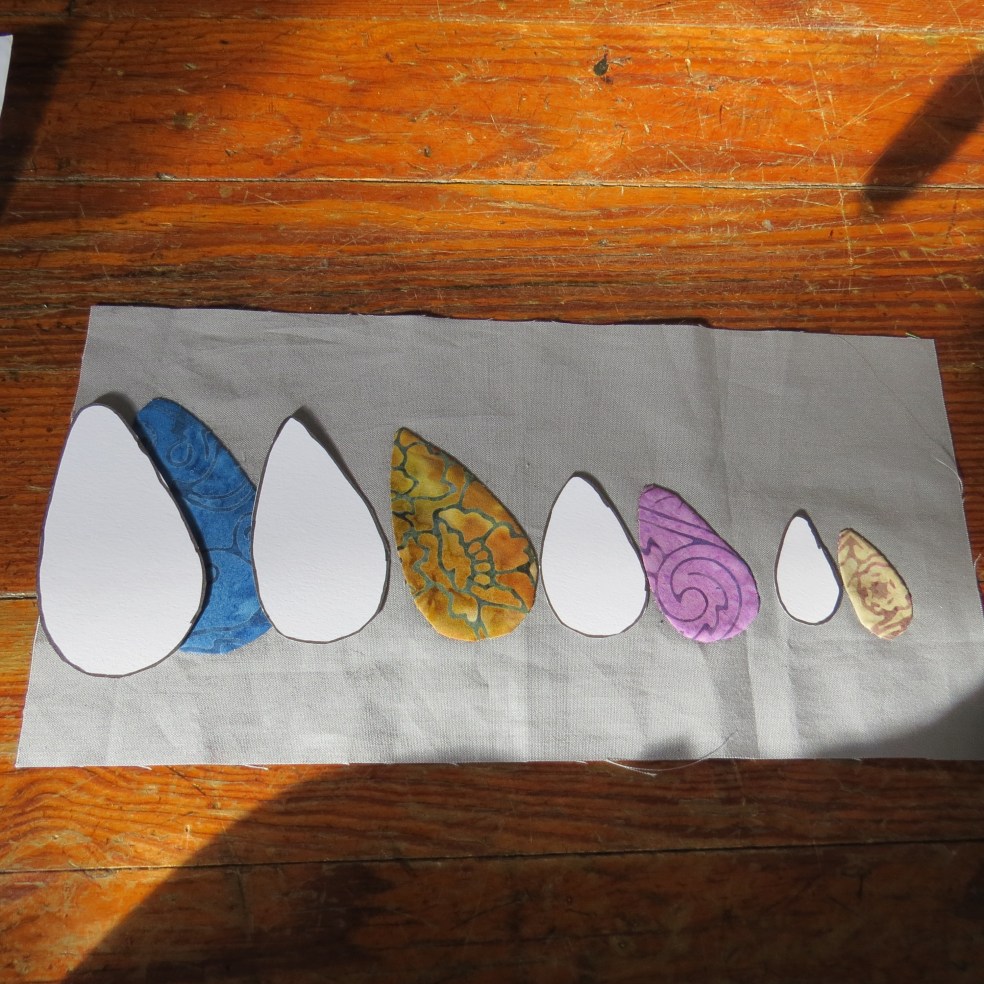
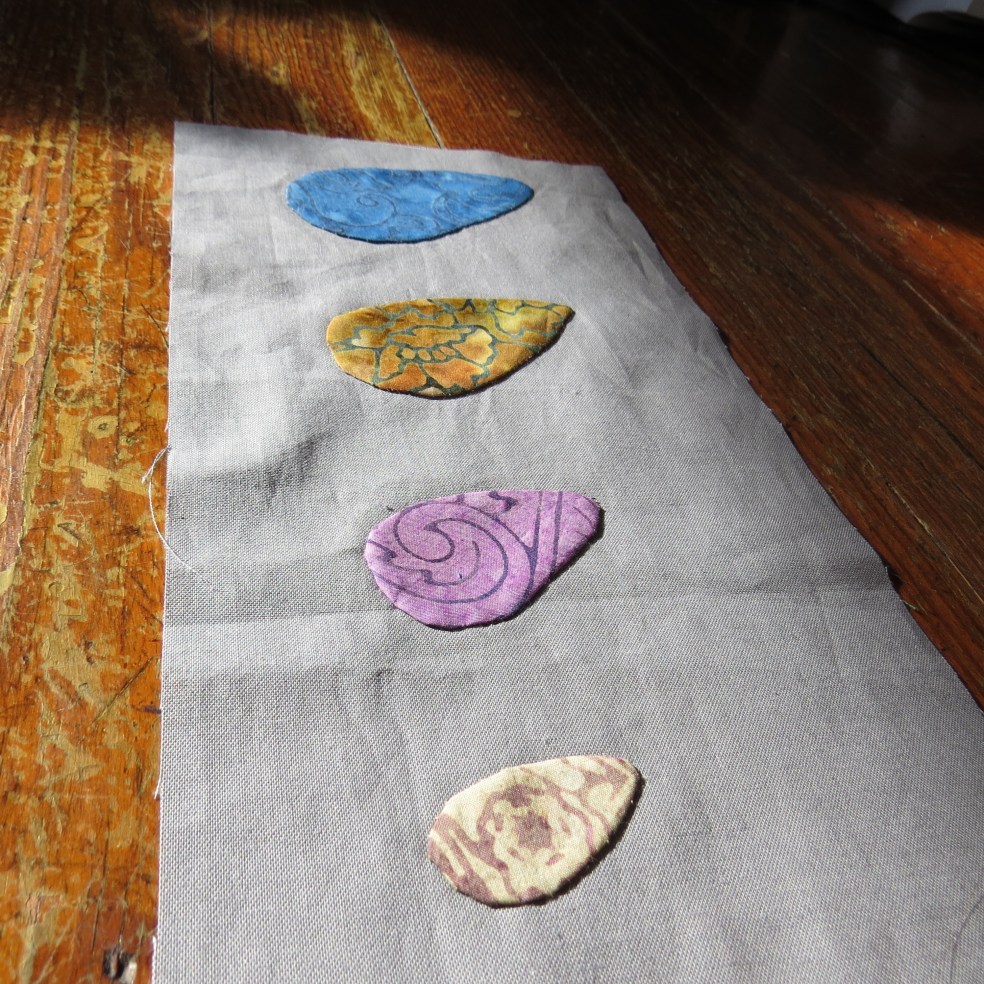
I thought this would be a great time to share the applique preview. After transferring the refined version over to paper, and then to wax paper, I started to think about fabric. I hunted around in the stash and, of course, found some of my favorite grey background fabric! Batiks are a great choice here, because the fabric is nicely woven and the patterns create playful movement. The final design isn’t completely ready to be revealed, but will be available on PDF soon!

IMG_5512

IMG_5510


Eggbert is a great shape for those just beginning to applique and want to practice. I love these little eggs and I look forward to sharing the finished products soon.

IMG_5495.jpg


On Its Way: Applique

All scraps are being reused and the stash consists of the small, long, thin bits of fabric. Since I buy all the fabric the scraps all came together pretty well; purples, blues, orange, grey, greens, and pinks merged together in both of these pieces. Many things are on my mind when I work with color: eye-interest, ease of this interest, viewing the piece as fresh, and feeling like it presents something new to look at each time are important. Beautiful and interesting aren’t always the same, but I like to explore the space where two meet in a complicated way. Here is where endless possibilities of fabric keep me awake all night!

IMG_5488.jpg
Pattern: Set Fifteen

Aren’t borders lovely? These are my first couple of attempts at attaching borders, but the effect is incredible. The pieces instantly possess weight and feel grounded. Even though I ran out of green for Arcs the grey presented itself as a natural compliment. I doubled the size of the recommended borders for Lori Smith’s project. I like the finish, and am looking forward to quilting these pieces.

IMG_5474.jpg
Pattern: Arcs

The new sewing machine is on order and I am looking forward to hearing from the dealer. Thank you, Janome, for your sale in March.

Easy Kid’s Apron

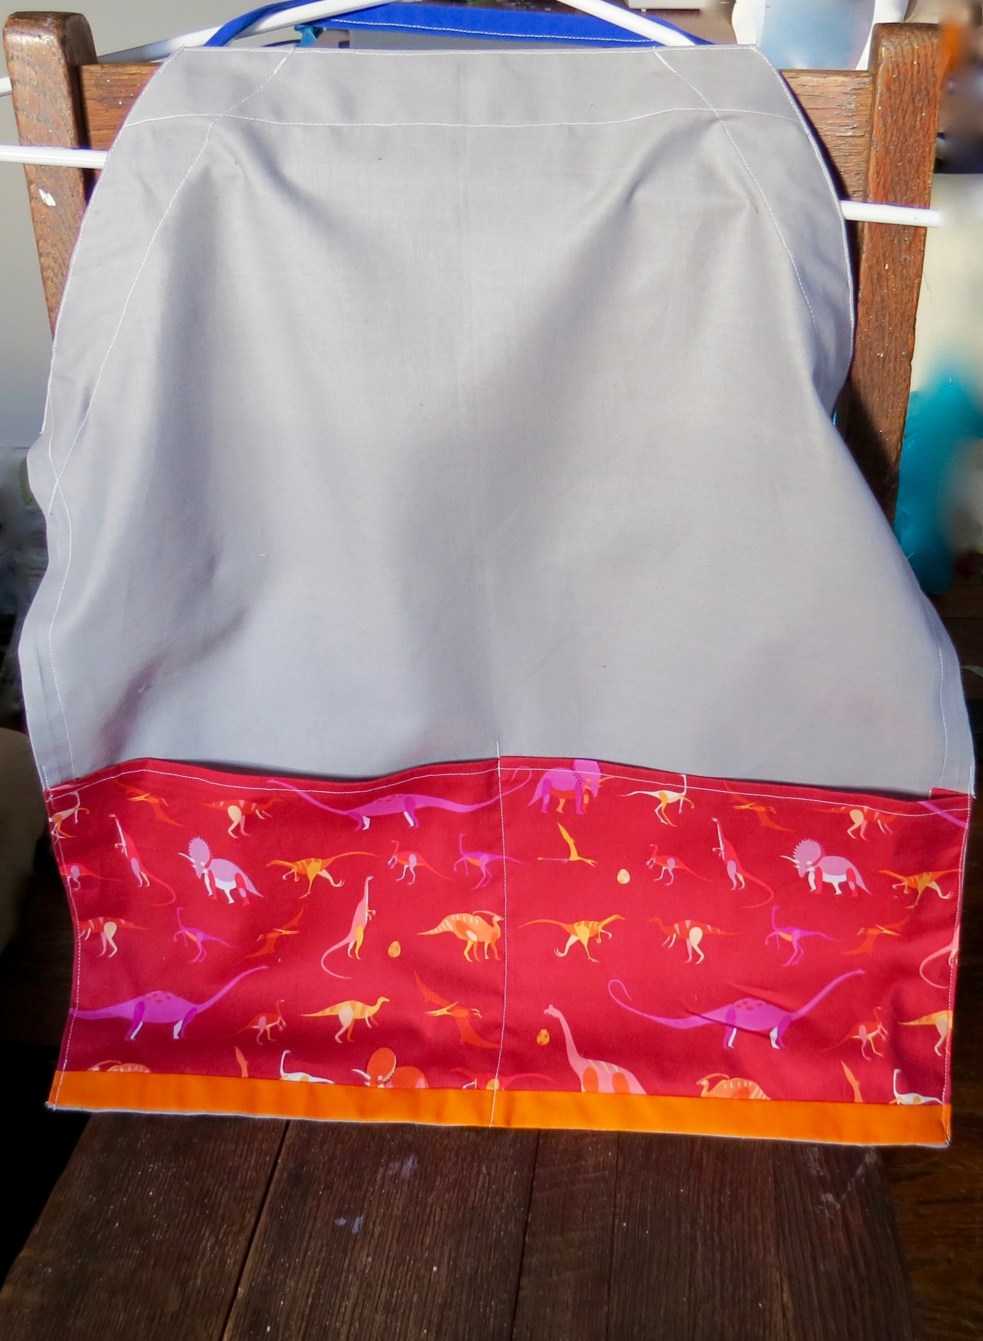
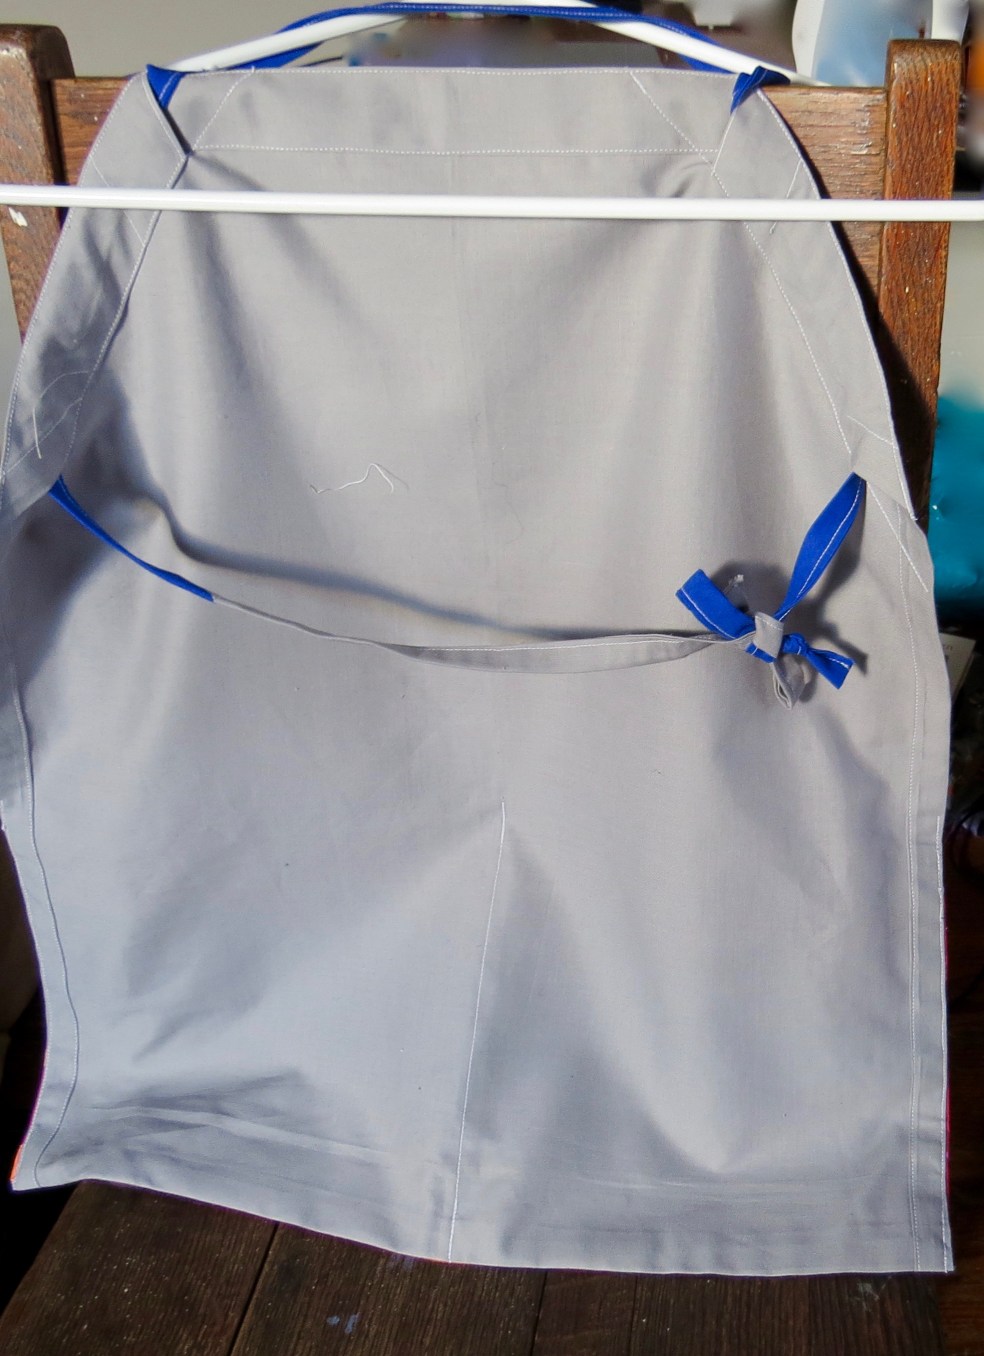
The School of Sewing is a book I return to again and again since being recommended it by my seamstress aunt. A lot of people are worried about using a sewing machine, and I was no exception. The School of Sewing helped demystify my machine and got me comfortable using a variety of sewing schools. It’s a great book for those looking for a book to help them with beginning sewing. The apron, project three, is a great one and well fitting.

IMG_5466.jpg
Pattern Source: The School of Sewing    


This is the child’s size and is a gift for a friend. The dinosaur fabric is Lizzy House’s Natural History for Andover fabrics. Lizzy House is one of my favorite fabric designers. She is playful and vibrant and sweet. These are great prints to work with.

IMG_5469.jpg
Fabric: Natural History

IMG_5461.jpgIMG_5463.jpg

I picked solids for the rest of the apron because it seemed to balance out the print. This apron is for a boy, and I wanted it to have a more stark appearance. The apron is already on its way in the mail to the recipient and I couldn’t be happier. Making a gift for another has always been such a pleasant experience for me.

How have you been sharpening your sewing skills? Thanks for stopping by!


Tiny Cards & Applique Arcs

Valentine’s Day is fun. This is a sweet time of year, and I love to send out cards. For previous Valentine’s Days I’ve sent out postcards, embroidered hearts, glitter cards (and those turned in to glitter bombs after being processed through the mail!), and now these old school grade school valentines I found about a year and a half ago when helping a relative move.

These sweet animal cards were perfect. Time has been a bit crunched the past two weeks, but I still wanted to send out cards.

IMG_5321.jpg

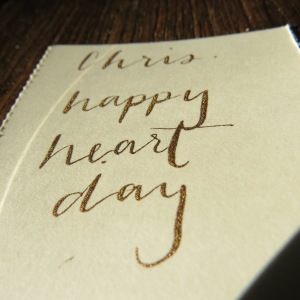
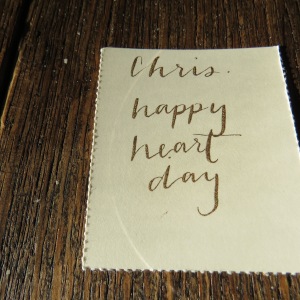
The other evening I sat down with some Winsor & Newton Designer Gouache in Gold and set to drawing. It’s been about eight months since I used a calligraphy pen and nib, so there were some rusty moments and valentines were limited, but I was able to ease up on the amount of pressure my fingers wanted to apply to the pen and the cards turned out cute. The sun came out just as I was taking pictures, and the gold really sparkles.

IMG_5309IMG_5312IMG_5301IMG_5302


How and why colors coming together are constantly on my mind. I want to tell a story with each piece I make, and it should not be a story that leaves one wondering why it was created. The story should be steady enough to enter and fresh enough to the eye each time that one keeps returning; I’m thinking a lot about it! After trying many other combinations, these two were my final contenders.

IMG_5304.jpg

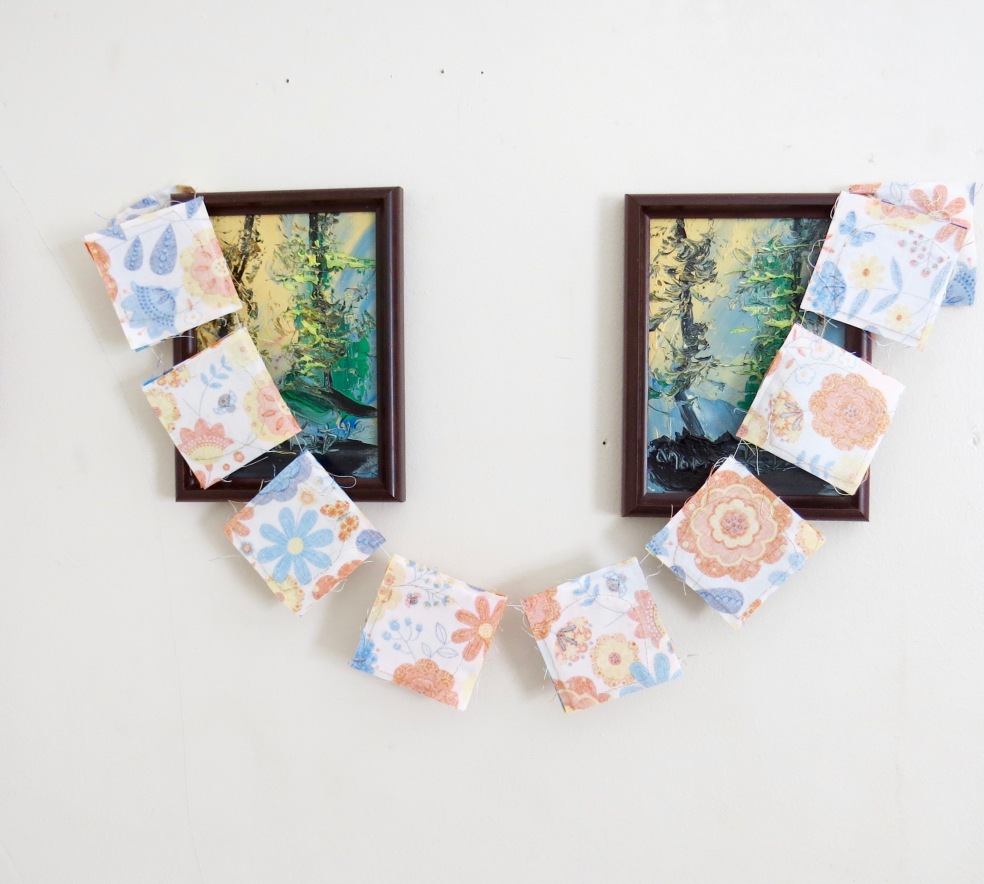
Chain-piecing was one of my favorite skills I learned in beginner quilting. The product makes me want to hang garlands all around the house.

IMG_5333.jpg

A new sewing machine is close to being a part of my life, but I still love my little Janome. It is doing a great job sewing up those seams!

IMG_5324.jpg

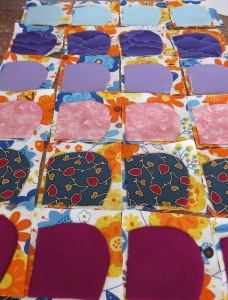
I decided to nestle the clouds between the solid purple and blue Arcs to give this more of a sunrise feeling. Catching the sunrise everyday is one of the most amazing times of the day, and the sun pushes the pinks, purples, and dark reds against the blue sky. With this much print, I felt it was important to create a balance within the already chosen colors, and then find the most cohesive union between these rows. I’ve been contemplating a border the entire week and have yet to settle on any one idea.

Any tips on how you decide on borders?

Happy Valentine’s Day! What are you doing to mark the day?

Applique Today

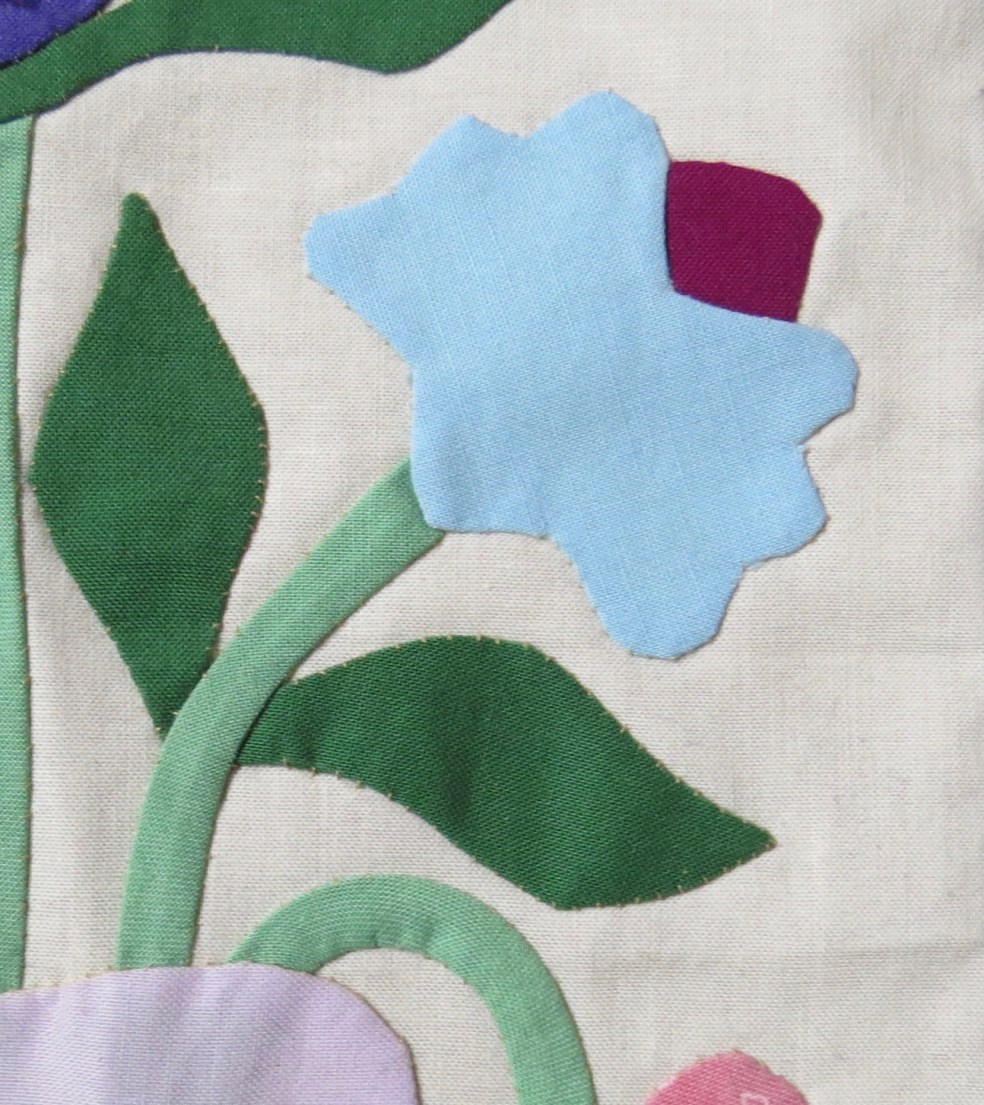
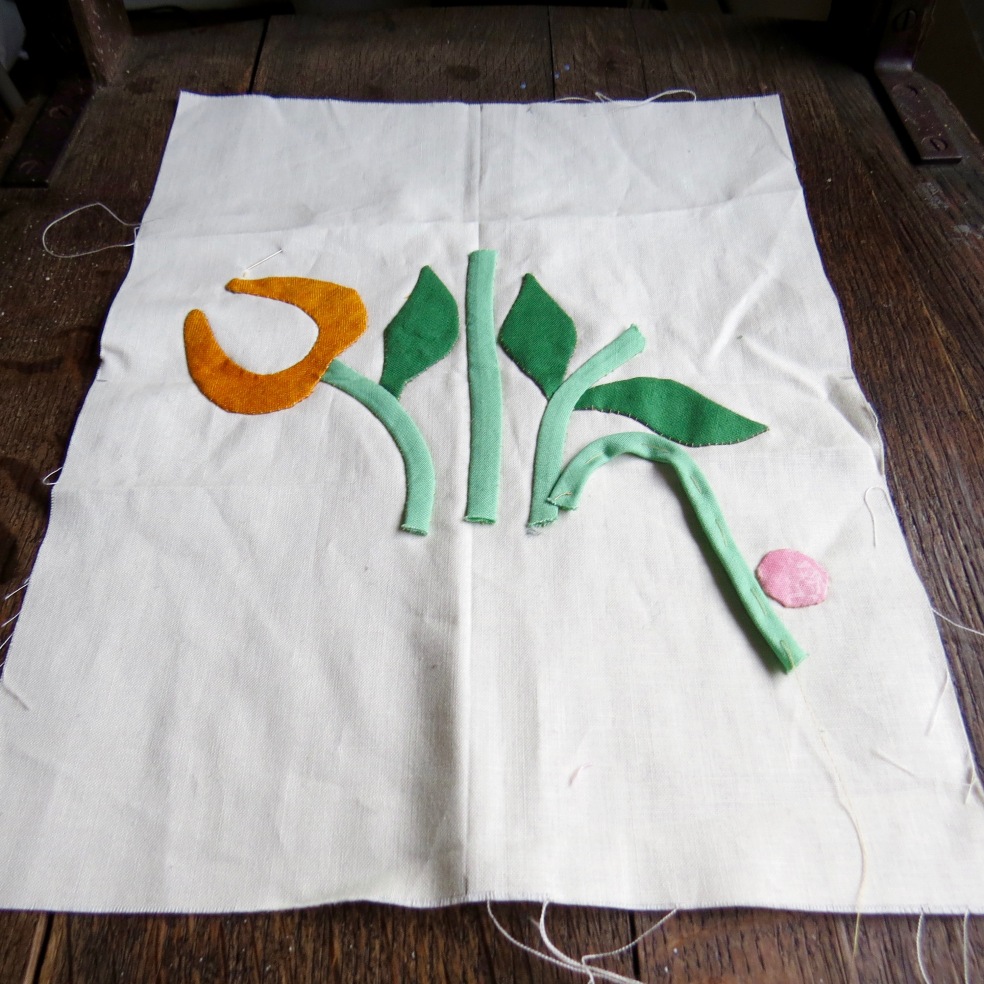
This is my first time using one of Lori Smith’s applique patterns. The directions are simple and well numbered. I was introduced to her work through the applique class I’m taking at the LQS. It is a great pattern to learn many of the skills needed in applique…as I’m finding out! IMG_5265.jpg

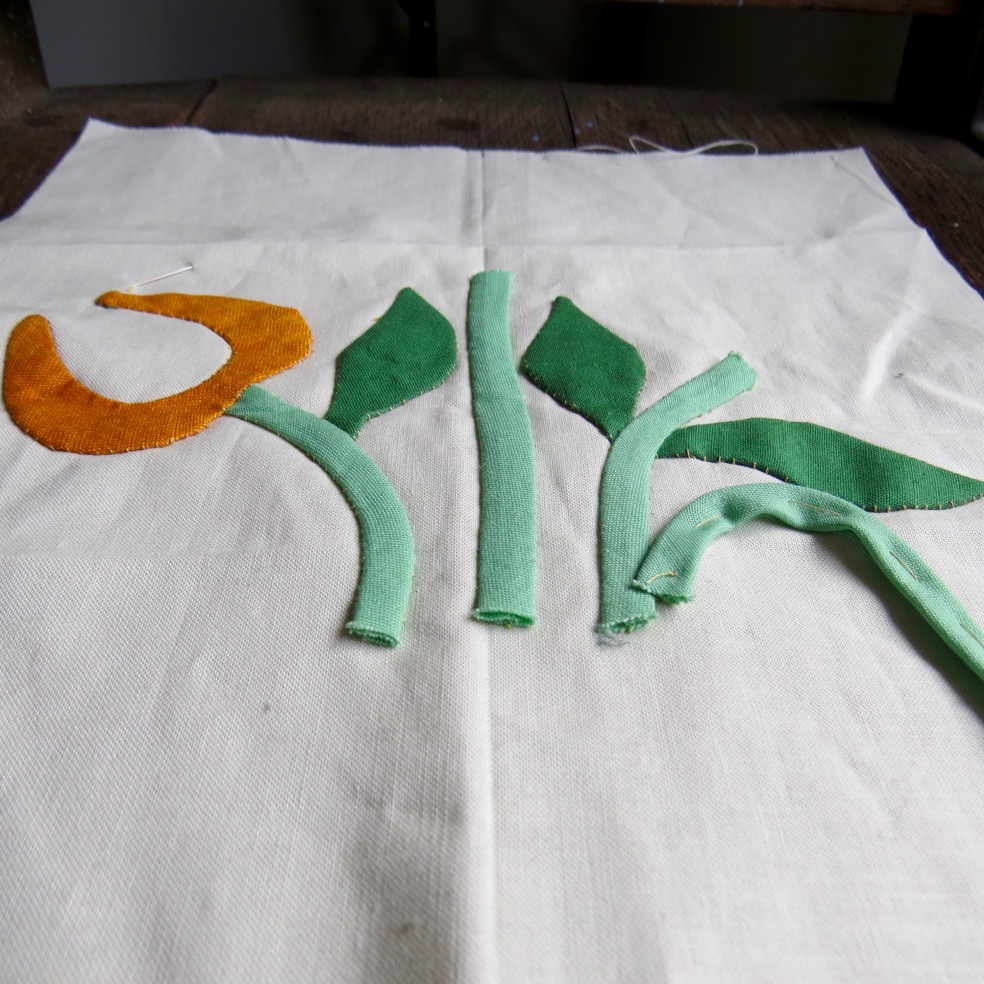
The pattern encourages scrap usage and to date I haven’t used any new fabric. We used bias bars to make the stems and these helped make the stems bendy, easier to apply on. Glue was recommended to keep the stems in place, but since I am on the go and recently learned the joys of basting, I decided to baste the stems on. I’m saving most of my pennies, and glue feels like something I could run to pick up if I was screaming for it, but am glad not to buy right now!

IMG_5268.jpg

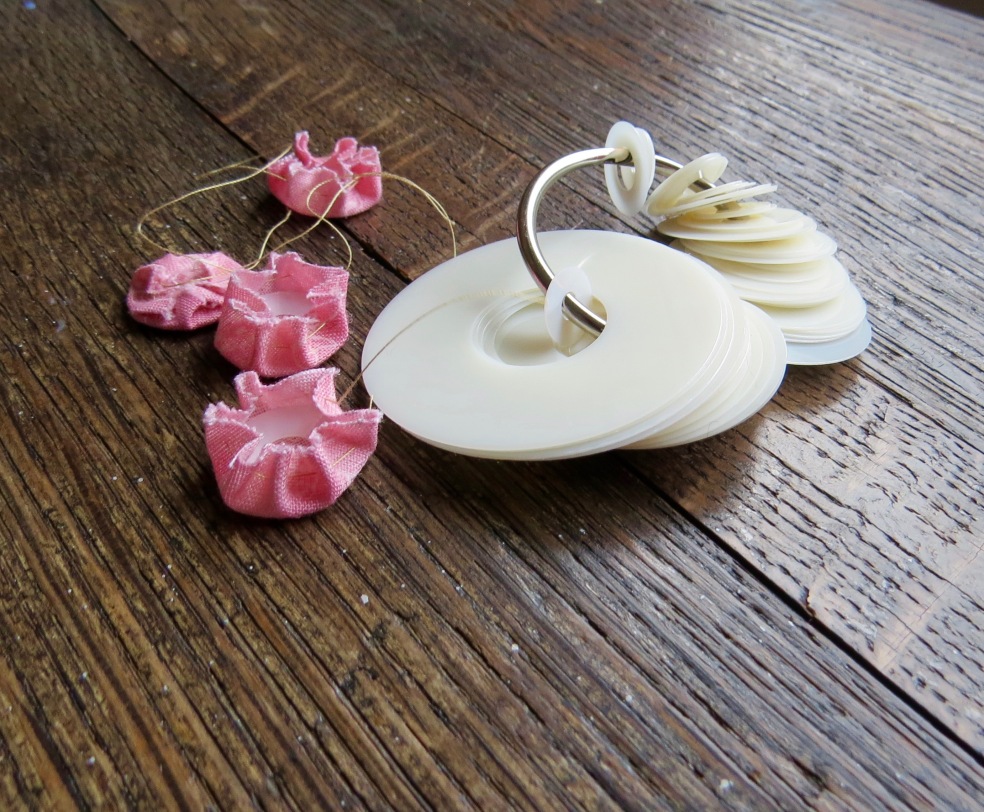
To make circles close to perfect (mine aren’t perfect!) we utilized Karen Kay Buckley’s Perfect Circles. The O-ring to hold all the circles is included, and I love that! Not only are my circles better than anticipated, but each one looks like a sweet little flower while awaiting application.

IMG_5269.jpg

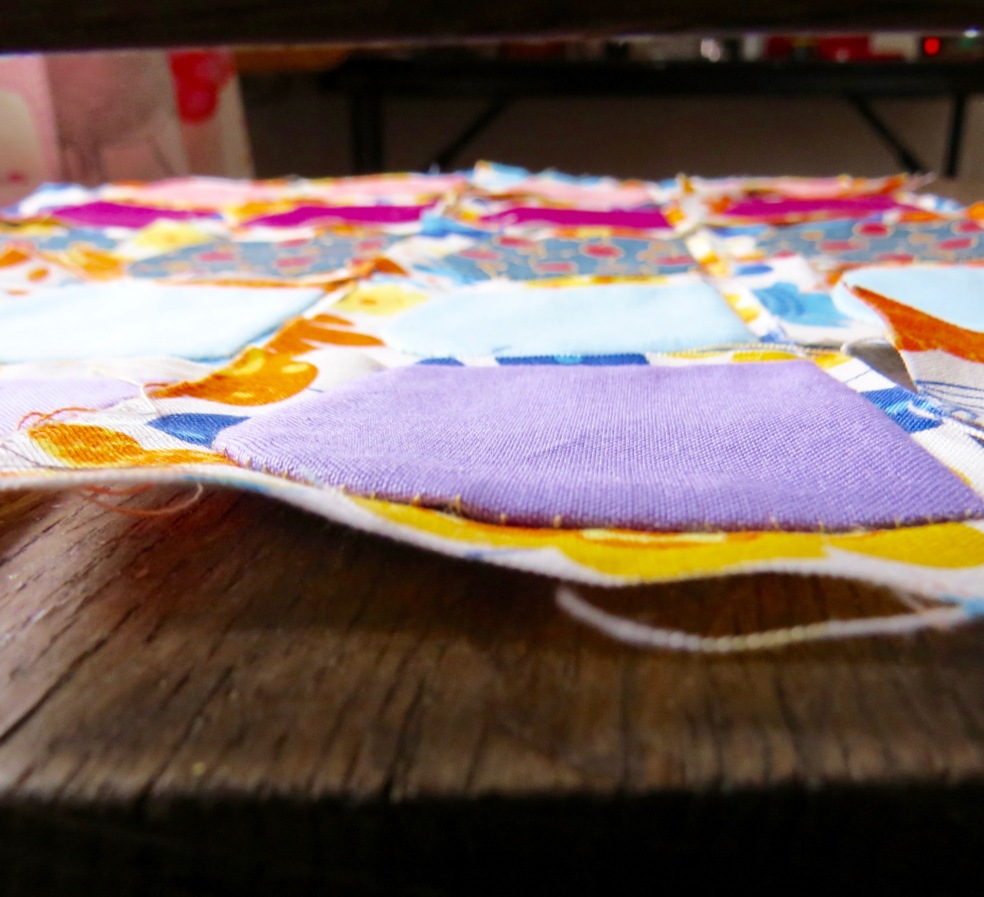
I worked on Carolyn Friedlander’s Arcs all week. What I appreciate about this pattern is how dynamic the arcs are despite being a simple shape. I learned a lot about tucking under and securing corners.

IMG_5276.jpg

This is all scrap fabric I had from other projects. The raspberry fabric in the middle row almost had me cutting out new arcs, but I decided to roll with it. This project still has a lot more to be added, and the colors can be balanced. Thread color is going to be crucial.

IMG_5280.jpg

Other exciting things have been going on here too. I’ve been drawing a lot and am thinking about ordering some supplies to make printed fabric by hand. Any tips? Has any one worked on making fabric?

What are you working on?

Greeting Card Tutorial: Embroidery!

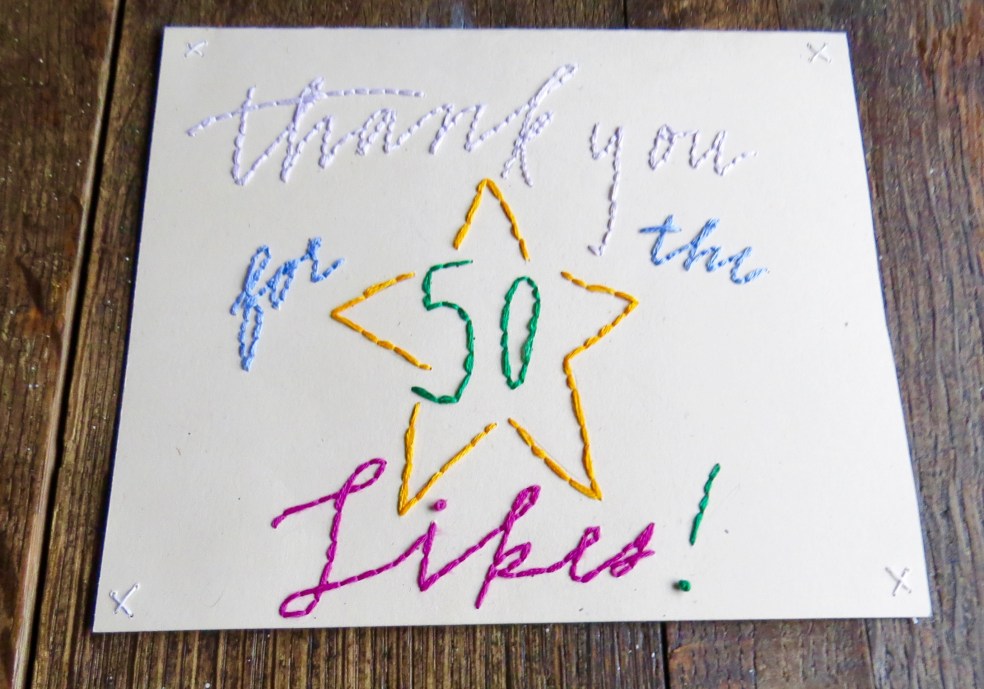
A thank you to all that have stopped by & looked, liked, commented, or a combination of all three. Deciding to start a blog wasn’t easy for me due to introversion, but that was a feeling I pushed aside to forge ahead.

The way I typically thank those in my life is through a greeting card. With the internet being my platform here, I thought it best to provide a greeting card tutorial. The embroidery greeting card first came in to my life in the form of tiny hearts I cut out. I embroidered my friends’ initials or names in the hearts. Many of the tiny hearts were cut  without a thought about templates and I hadn’t learned back-stitch yet (my favorite right now)! This is the sophisticated version, using calligraphy style script, of those sweet little hearts. The embroidery greeting cards don’t take much time, but make a big impact on the recipients!

Materials:

  • Card-stock or any type of paper you would like to use for a card. Firm is better here.
  • Embroidery Needle
  • Embroidery Thread
  • General Purpose Thread
  • Pencil & Eraser
  • Scissors

1.  Measure the paper to to size of card you would like. Here I cut the paper down to 6 1/2″ x 11″.

IMG_5177.jpg

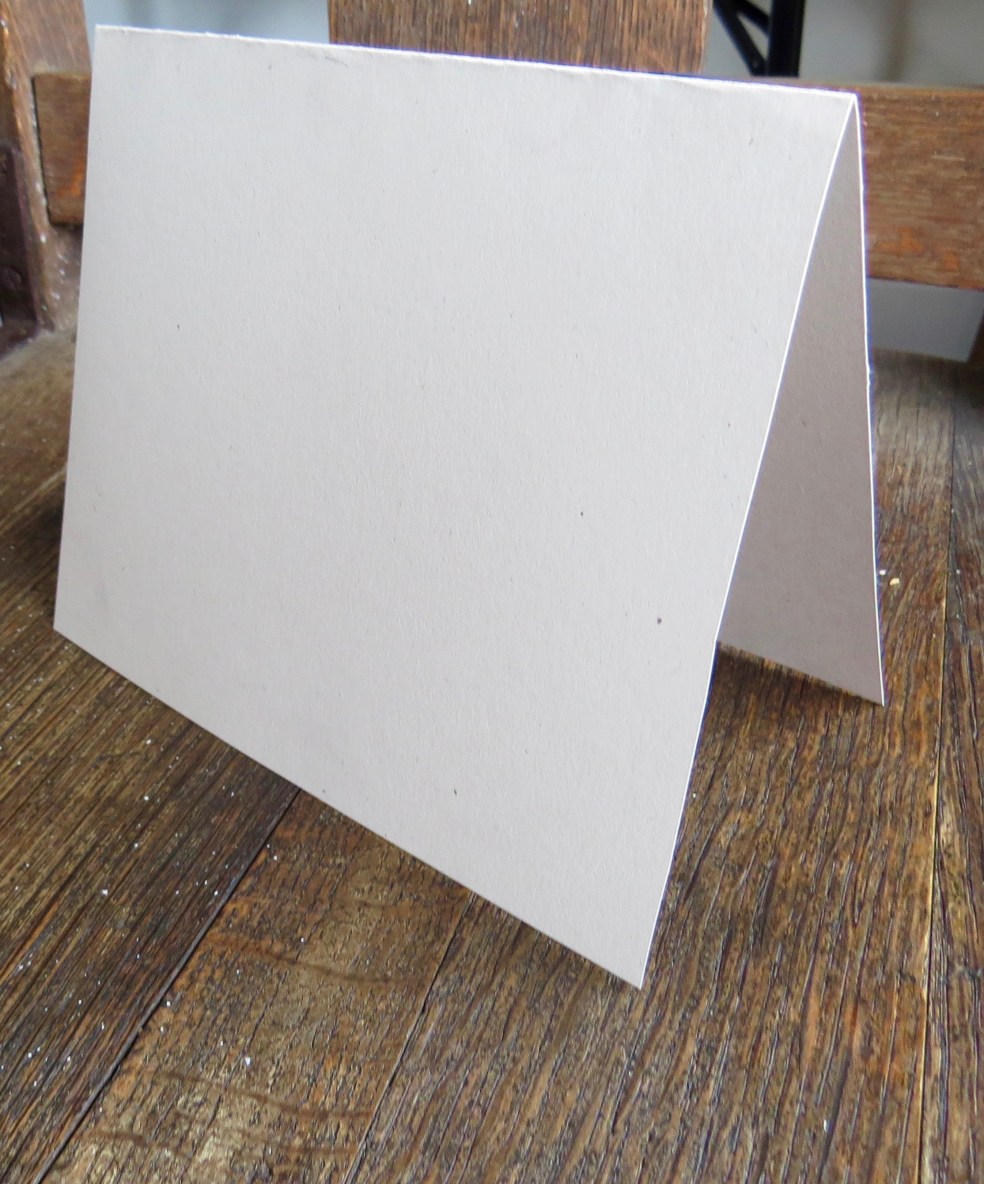
2.  Fold the paper in half hamburger style. I used my fingers to set the crease.
IMG_5183.jpg

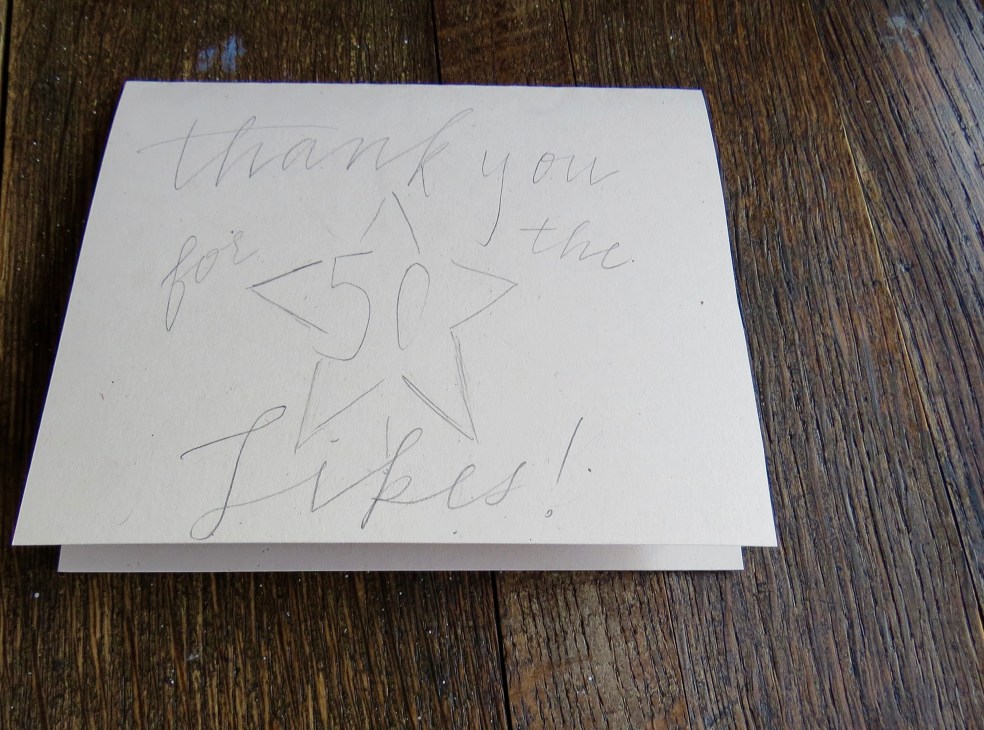
3.  Free hand draw what you might like on the card. Typically I write “Happy Birthday, _____!”, or if for a couple I draw both their names with a heart in-between. Don’t worry about using fancy script, because everything looks beautiful once embroidered.
IMG_5188.jpg

4.  Poke holes in the card every couple of millimeters or centimeters. The closer the holes are the more likely of a collapse of the card-stock between the spaces. The further apart the holes the larger the stitches will be and this will make the card faster to complete. A variety of stitch lengths are used in the making of this tutorial for demonstration.

IMG_5190.jpg

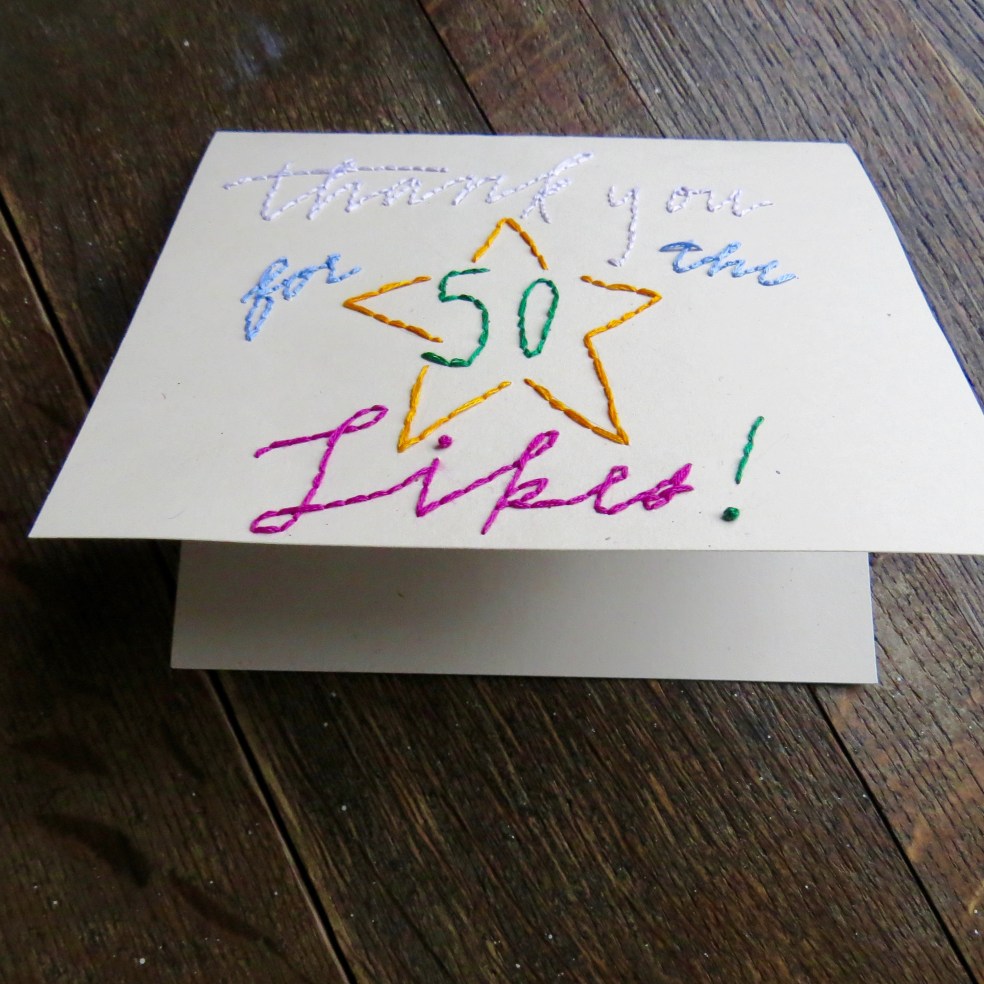
5. Pick your colors and embroider! I like to use french knots for periods. The thread may feel bulky and stiff, but this is because paper is a more firm fiber than cloth overall!
IMG_5192.jpg

6. I prefer to hide the knots inside the card, but if you are feeling bold you may leave them on the outside of the card.

IMG_5193.jpg

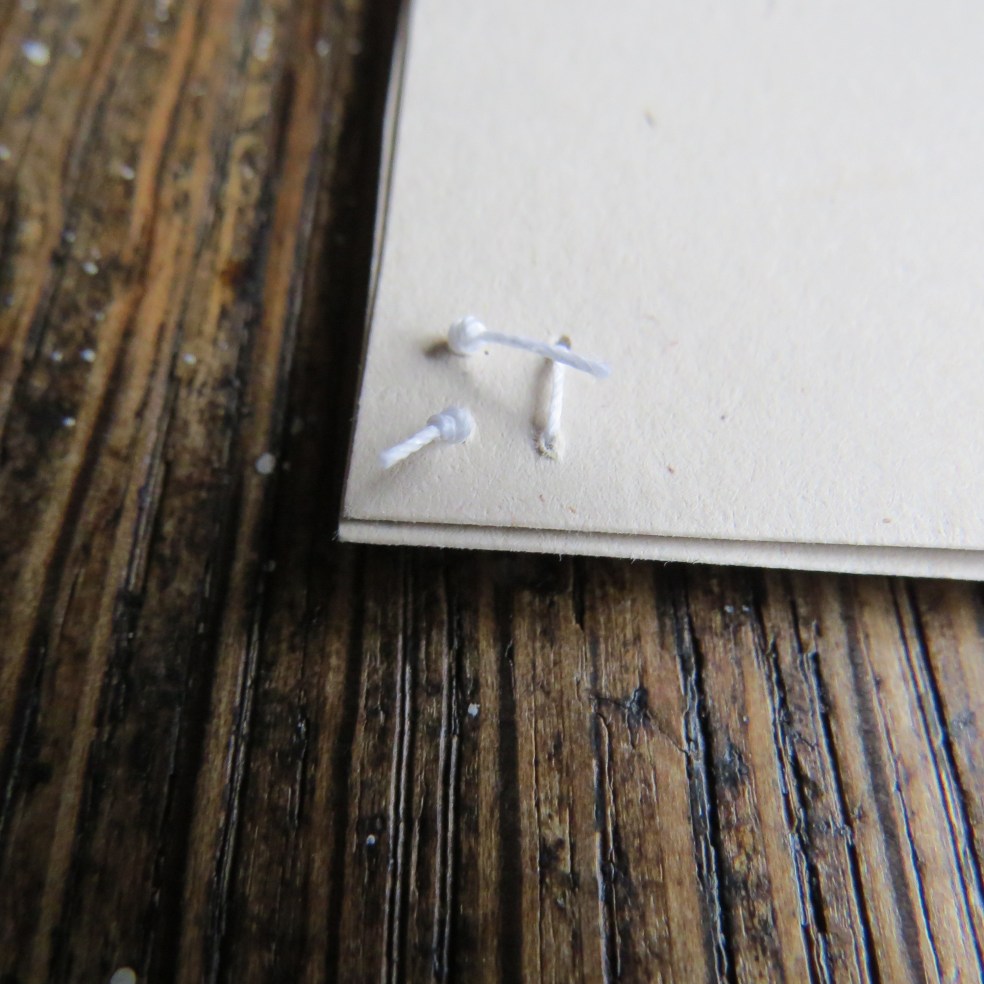
7. The corners have to be secured since the card will not close flat on its own. I used general purpose thread to anchor each corner with an X, but you could as easily use embroidery thread. I tied the knots to the back of the card.

IMG_5195.jpgIMG_5202.jpg

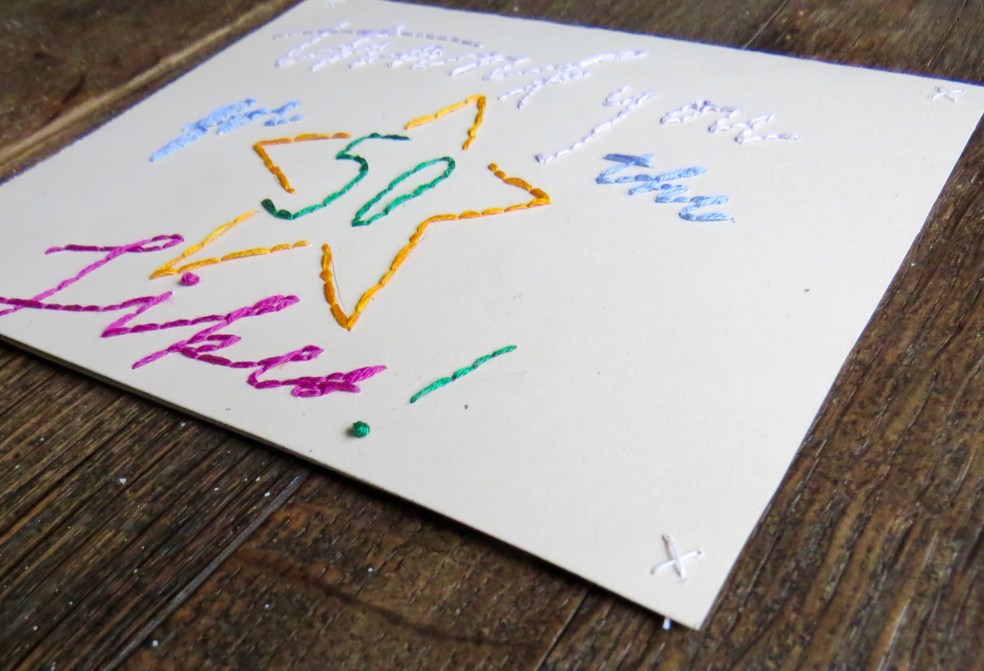
8. Admire & fill out your card to send away. Or you might use the card as a wall hanging for your inspiration board.

IMG_5204.jpgIMG_5197.jpg

Thank you for reading & I hope everyone has a lovely week. Please feel free to share any made embroidery cards!
Greeting Card Tutorial: Upcycling Scraps & Notecards

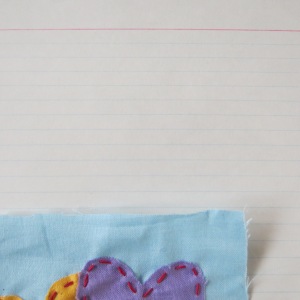
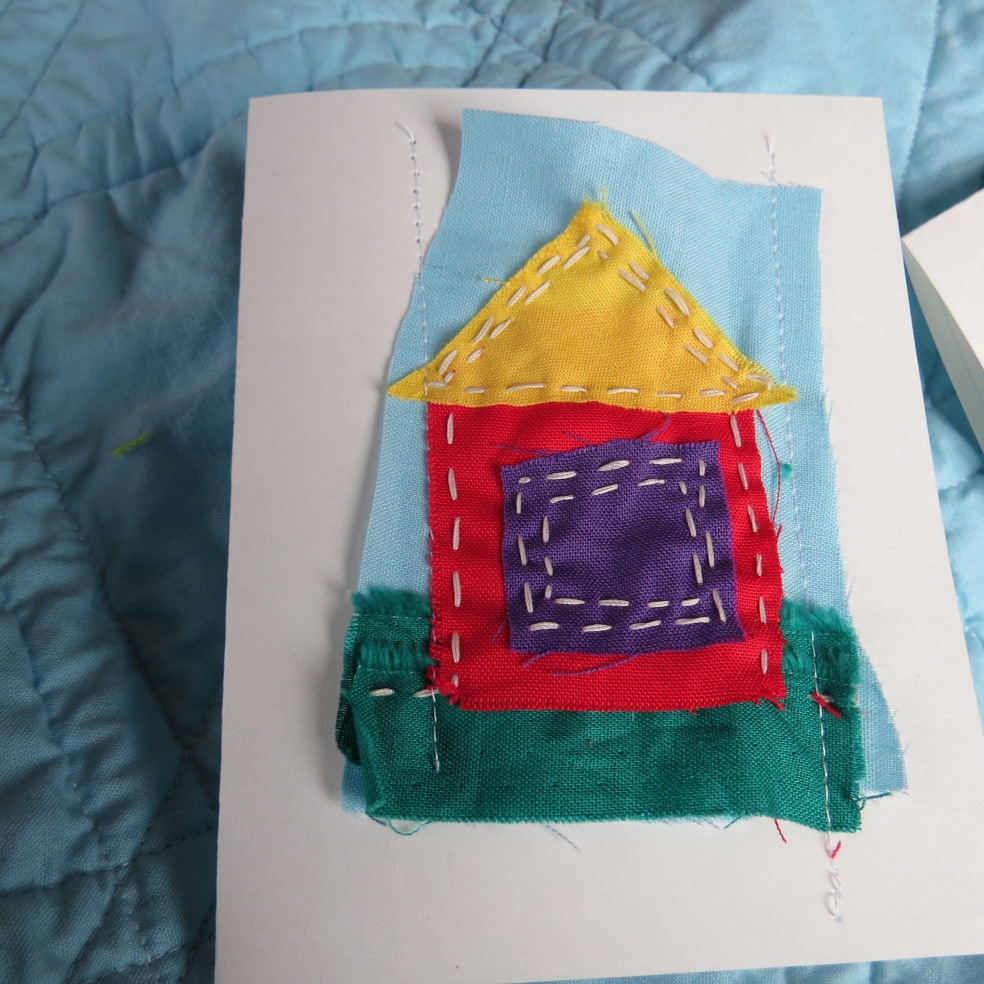
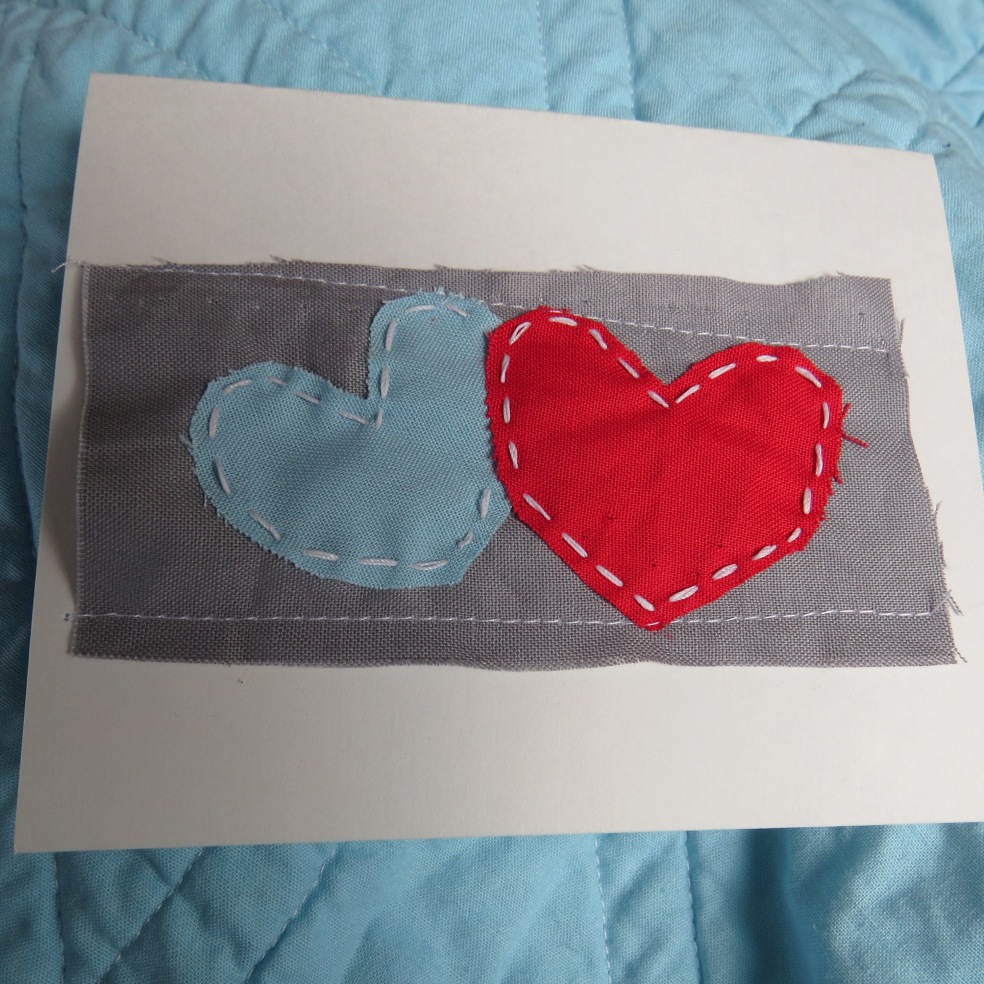
I needed a card yesterday. The store’s cards were okay & nice, but lacked a personal touch. After assessing materials in house, I decided to use 5″ x 7″ lined notecards & scraps from the just finished half-squre triangle quilt to make a greeting card.

Materials: 

  • Scissors
  • Hand-sewing needle
  • Thread
  • Pins
  • 5″ x 7″ Lined Notecard
  • Fabric scraps
  • Sewing Machine
  • Imagination!
 

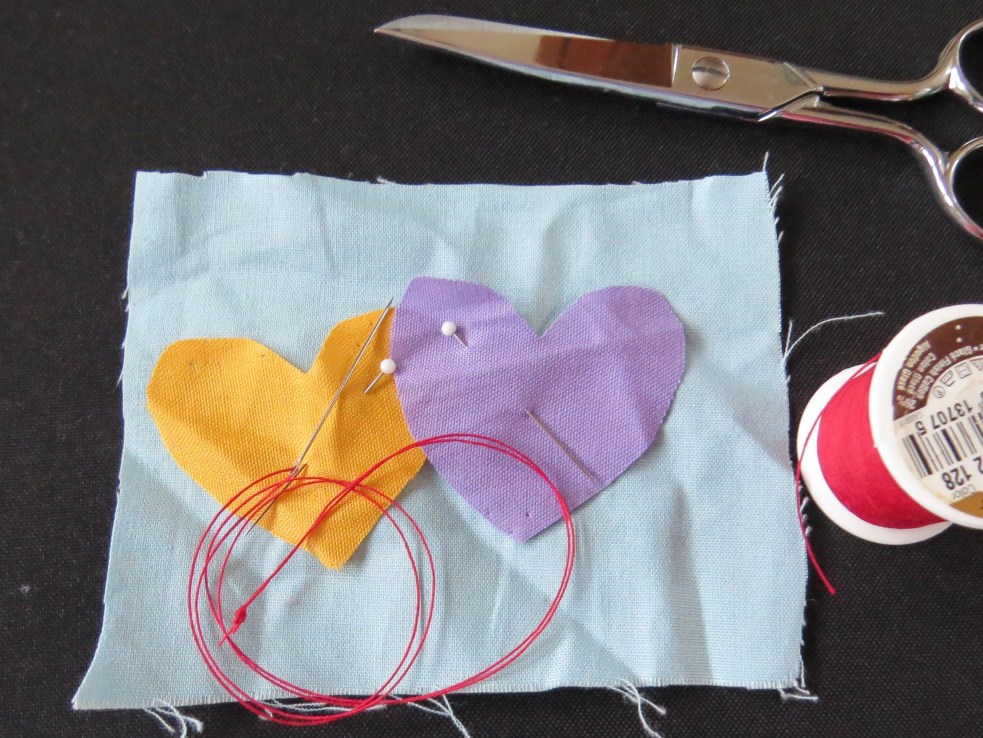
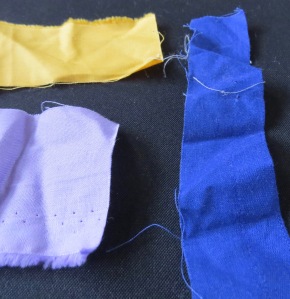
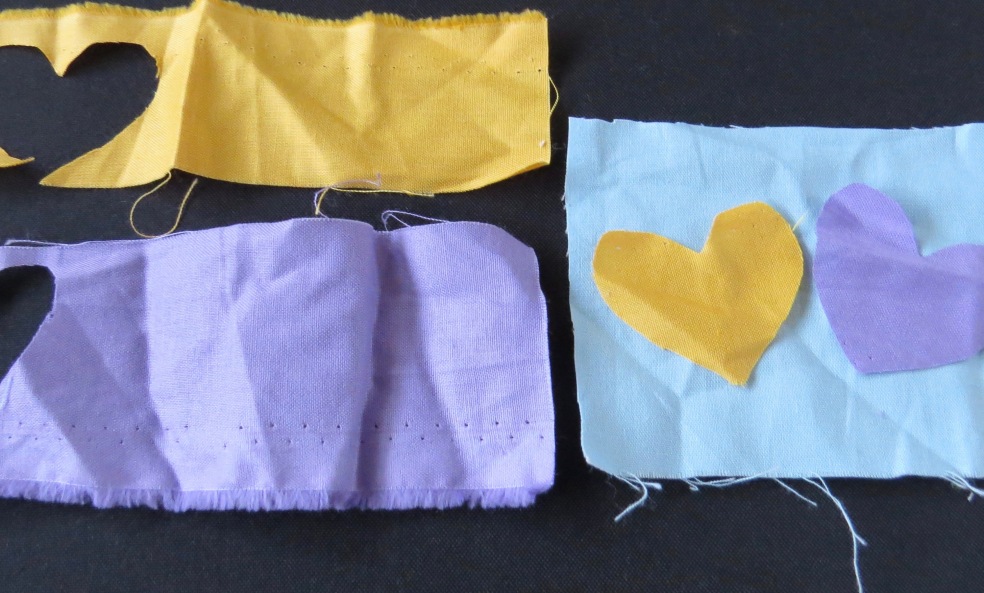
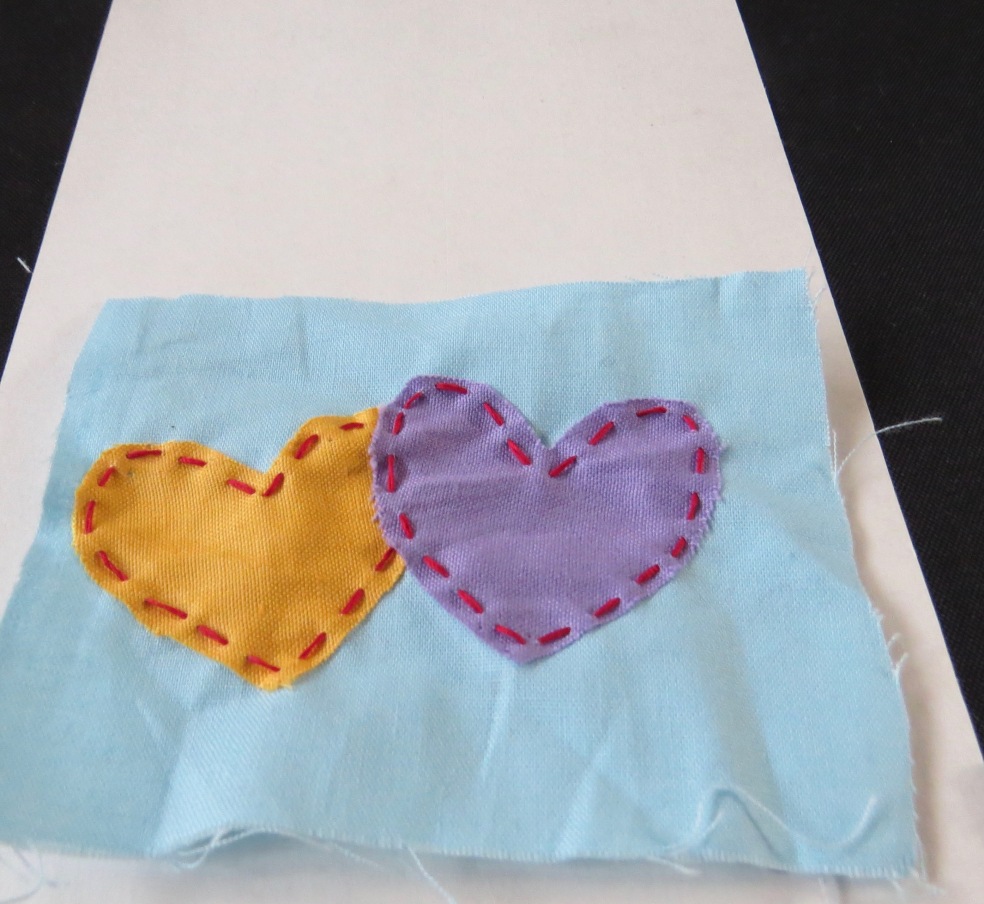
Step One: Grab fabric scraps & see what ideas come to mind. What shapes do you like? Cut those shapes out of the fabric!

IMG_4804IMG_4805.jpg

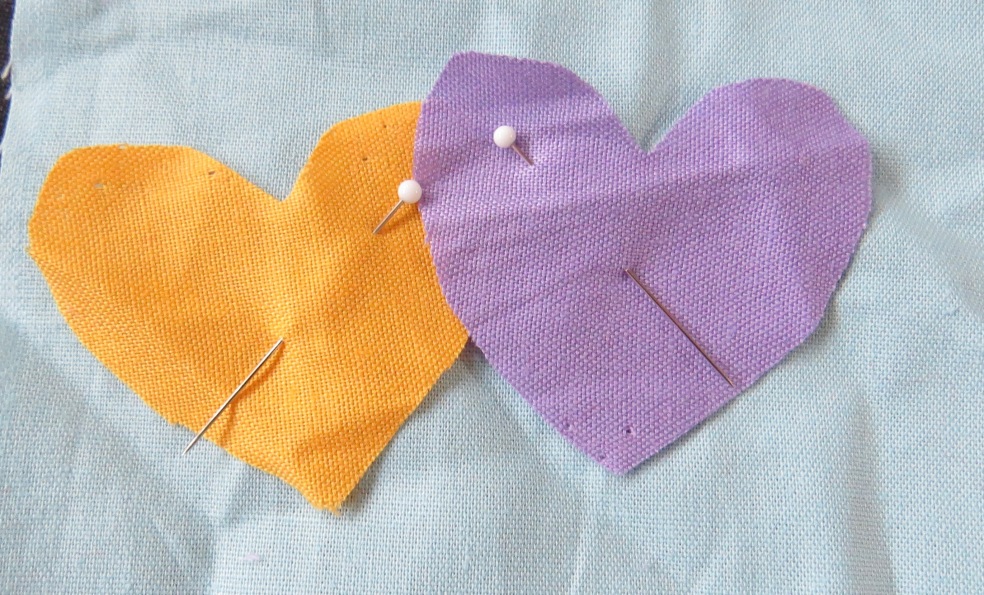
Step Two: Pin shapes on a piece of fabric & thread a hand-sewing needle. IMG_4812.jpgIMG_4813.jpg

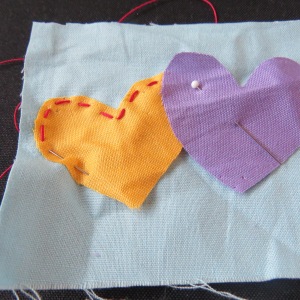
Step Three: Sew the shape on to the fabric. I used a straight stitch here. IMG_4817IMG_4819

Step Four: Place fabric on the notecard & decide how the card should be folded. I creased the card hamburger style. IMG_4823.jpg

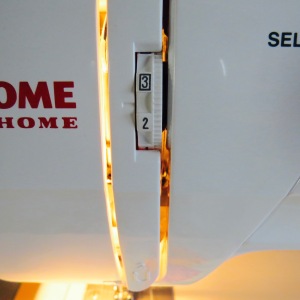
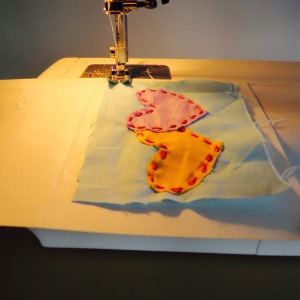
Step Five: Adjust stitch length & sew fabric on to the card. IMG_4827IMG_4826

Step Six: Enjoy & make more! IMG_4838.jpgIMG_4839.jpg

Thanks for reading & hope you enjoy making some cards!