First set finished: Kickstarter Progress

This blog is two years old! Wow!

The stitching is complete for the first set of elements, hydrogen, oxygen, and helium. The color palette red, yellow, and blue, so I used those colors pretty playfully.

Hydrogen

IMG_0721


IMG_0722

I love the neat messiness of the wrong side.

IMG_0733

The thread is DMC and the fabric is a Kona solid in Snow.

Oxygen

IMG_0746


IMG_0745


IMG_0755


Helium

IMG_0762


IMG_0766


IMG_0782

Cricket Bear!

IMG_0775

Thank you again for all the support! This next year we hope to start offering a slow trickle of ready-to-order items off of Etsy.

Happy New Year!

Two Everyday Totes

Goodbye 2017 and thank you for the many lessons over the past year!

One of my goals is to be busier and I wanted to make something special for my Aunt, a person I admire greatly from her loving and proactive spirit. After puttering around their website, I found Purl Soho’s “Everyday Tote” pattern.

I made my own binding using Cotton + Steel’s “Fiskers” in lavender.

IMG_0631

The pattern calls for some beautiful cotton webbing handles, but I decided to use some of the extra canvas to make handles. I also put binding on one tote’s handles, and really like the look.

IMG_0679

The sewing took under an hour for each bag. I used a combo of Aurifil thread and Gutermann.

IMG_0648

IMG_0666

IMG_0667

Cricket loves the camera.

IMG_0689

The contrast between the gold corduroy and the blue canvas is one of my favorite parts of each tote.

IMG_0692

I ran out of the Cotton + Steel binding and found some of this extra binding, and though why not? I’m pretty happy with the pop of color and how it adds more to the tote’s character.

IMG_0704


IMG_0711

I highly recommend this, and any pattern, from Purl Soho!

Thanks for stopping by all year. It has been a monumental year for Brambleton Threads. This year we not only became an LLC, had our first gallery showing, but also completed a successful Kickstarter.  We are grateful for the continued support on the blogging communties, Twitter, and from Kickstarter.

For any new eyes stopping by, thank you and enjoy!

Have a calm and safe end of the year.


Sweet Baby Quilt

I’m loving making crib quilts right now.

IMG_0327

This is the twin to the last quilt I made. I used pink Aurifil thread and some extra grey Cotton + Steel fabric on the backing.

IMG_0338

The batting is wool, and I like that. It adds a nice layer of puffiness.

IMG_0353

I think this Cotton + Steel print is sweet and perfect for a tiny baby girl.

IMG_0332

The quilting here is a bit more random, but I stuck with the basic X and straight lines to create a pretty and consistent movement.

IMG_0335 (1)

I hope everyone has been well.

Crib Quilt

This crib size baby quilt is 54″ x 41″ and has a cotton batting. We aren’t sure if our friend’s baby is a boy or a girl, and not knowing that allowed for me to play a lot with color and some prints. I pieced together the top earlier this year, of course using Aurifil thread. The binding are batiks I had left over from another quilt.

IMG_0292 (2)

This quilt reminds me of watching the sunrise over the Atlantic ocean, something I’ve been able to enjoy pretty often lately. The quilt backing fabrics are both Cotton + Steel. I love the pink’s lushness.

IMG_0305

I used a deep gold thread to machine quilt this. In all spots that looked like a square I made an X and filled in the rest of the quilt with lines. The ocean often has pockets of smooth water on the surface and I thought of those spaces while I was making X’s.

IMG_0316

A thank you to my husband for holding up the quilts!

IMG_0318

I find machine quilting on cotton batting to be a lot smoother and quicker experience than with wool batting. The fibers in wool are much more like a bramble. Cotton typically settles down with itself. What do you like to use for batting?

Thanks for stopping by!

Materials for the Kickstarter Project

This Spring we launched a successful Kickstarter project (thanks again, everyone!) and are now in the process of creating the pieces. I’ve been brainstorming about each element all year and I’m thrilled to start stitching soon.

IMG_0229

The fabric is a Kona solid in Snow. I’m pulling thread from 454 colors of DMC floss!

Lately I’ve been using watercolor to sketch out ideas, and the process has been rewarding. Here are some of the ideas I have for the elements I’ll be embroidering.

IMG_0123

IMG_0132

IMG_0142

IMG_0148

IMG_0158

IMG_0181

IMG_0178

IMG_0165

Thanks for stopping by! Hope you are having a wonderful August.

Watercolor Postcards

After a trip to the art store I came home with watercolor postcards and a small travel watercolor set. I haven’t used watercolor since I was in high school, but I’m back at it. To shake of the cobwebs I used Creativebug‘s Beginning Watercolor tutorial by Yao Cheng. Her teaching style is welcoming and clear.

IMG_9860

This is a travel set offered by Winsor & Newton plus a pencil from Camel Pencil Company. I love the portability, and the affordability.

IMG_9864

As some say, this palette is becoming seasoned!

IMG_9843

These crescent shapes are something I’ve been playing with in pencil and pastels. The shapes came out nicely with watercolor. Yao Cheng demonstrates in her tutorials how to let colors bleed in to the other, and the effect is stunning to me.

IMG_9833

The crescent shape is one that I love, maybe because it is almost a circle.

IMG_9819


IMG_9808

What have you been getting in to lately? Thanks for stopping by!

Tea Towel Tutorial

I wanted to have a little gift for a couple whose engagement party we were attending, and tea towels were the first thing to come to mind. Tea towels spruce up any kitchen and are a nice way to use up fabric from the stash.

Finished Size: 16″ x 24″ ***As you will see the size of the towel is adjustable. If you have a favorite tea towel, measure that one and add the seam allowances to the measurements. Or if you have a FQ (18″ x 22″) than you can use that after squaring it up, but it’ll be a bit shorter in length.


Materials for Two Tea Towels

  • 1/2 yard of fabric or two fat quarters (the length of these towels will be shorter)
  • machine or hand sewing supplies
  • ruler
  • rotary cutter and/or scissors
  • pins
  • iron
  • thread (I use Auriful)
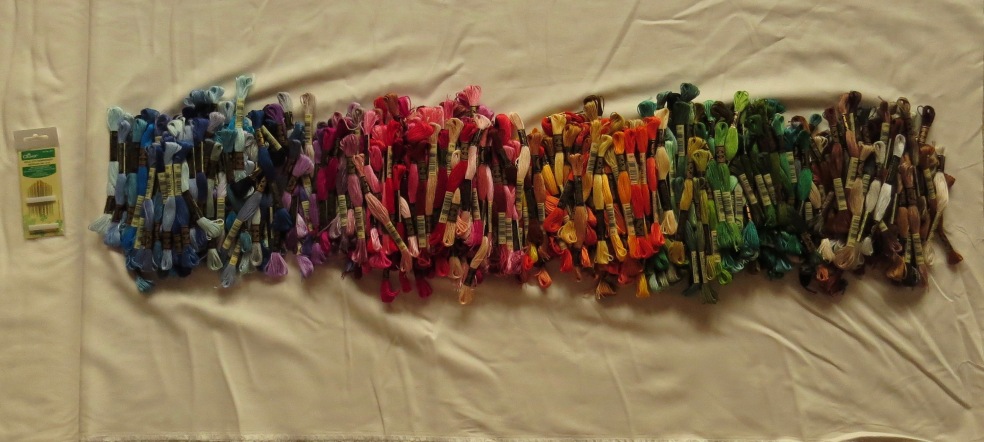
  • embroidery floss (I use DMC)
  • embroidery needle

IMG_9778

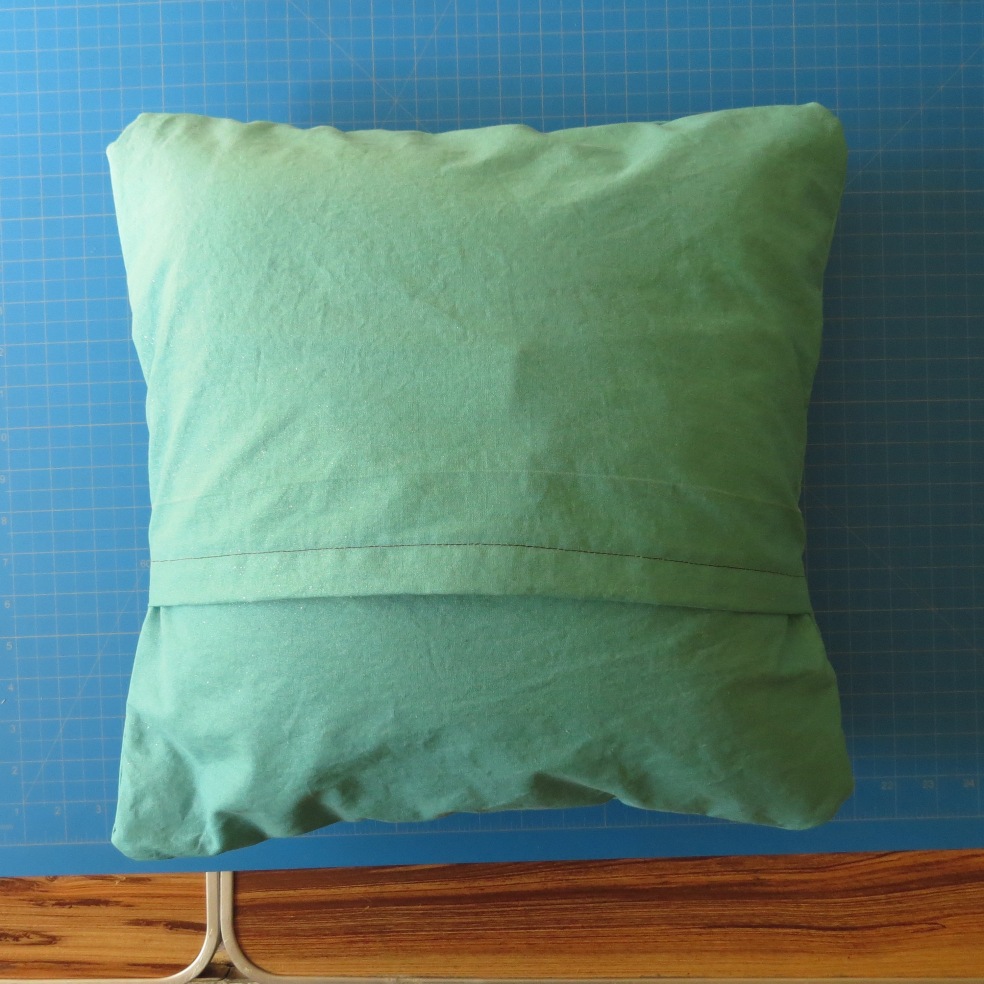
Here is the Costco bought towel I based my tea towel on.

IMG_9709

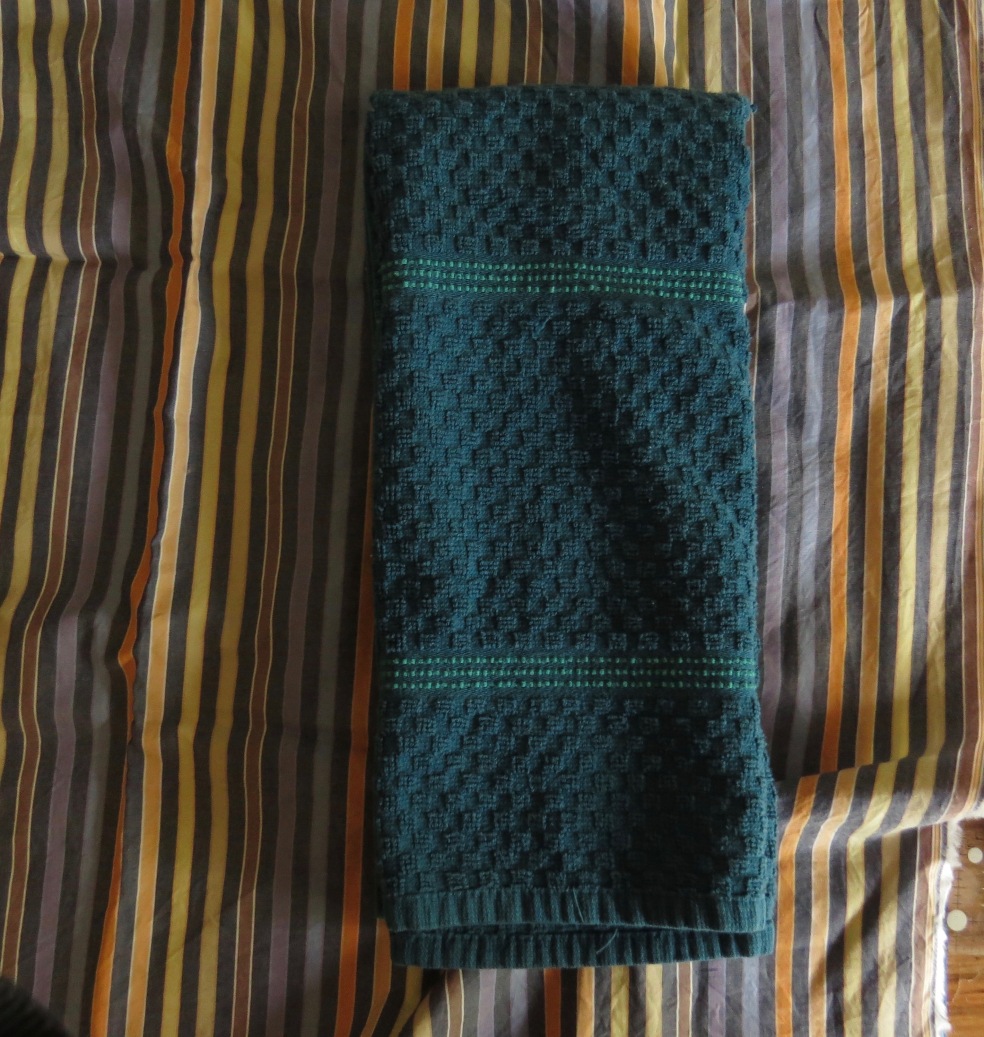
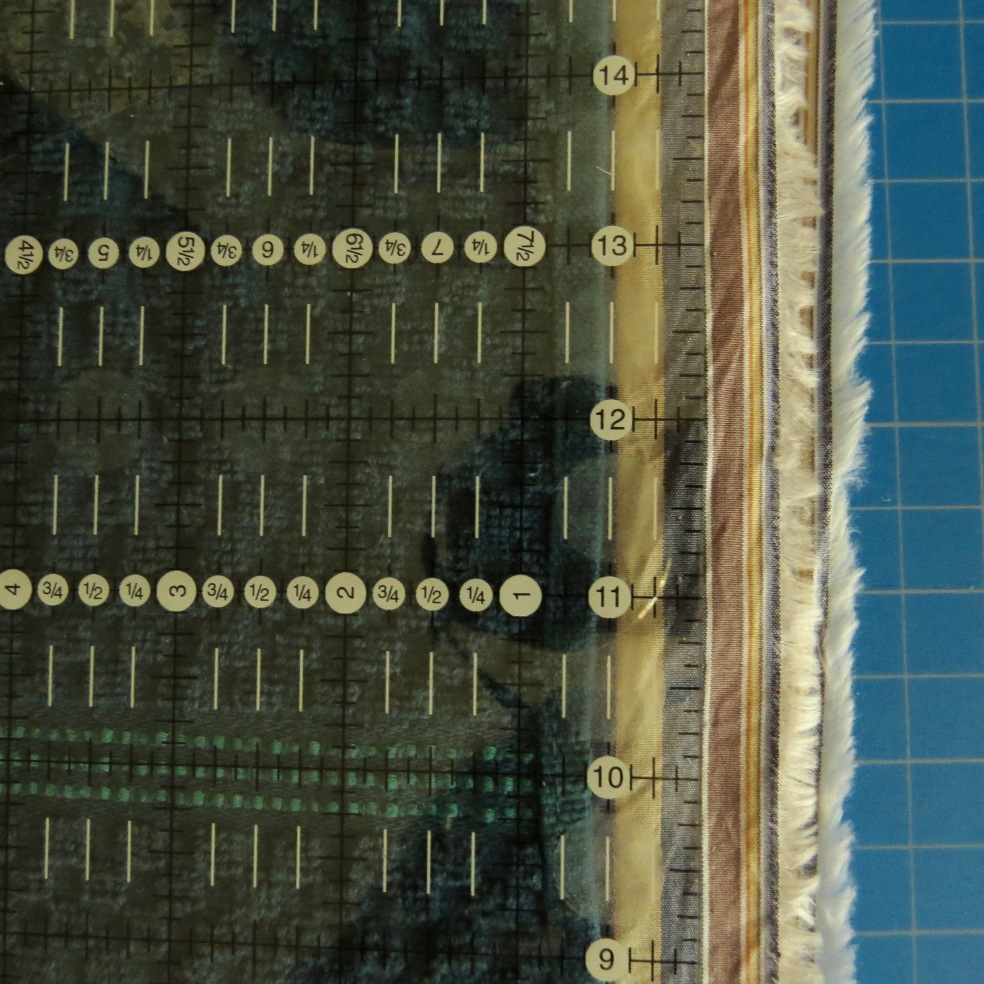
First I measured this towel to find the dimensions.

IMG_9720

I added a 1/2″ seam allowance on each length and an 1″ on the width. ***Use these seam allowances if you’re using a fat quarter or a custom size.

IMG_9719

  1. After pressing the fabric cut 2) 26″ x 17″ pieces.
  2. On each length side, turn and press a 1/4″ of fabric. Repeat this step twice for each cut piece of fabric.

IMG_9726

3. Now that each side of the length is folded over 1/4″ twice, pin each side in place.

IMG_9732

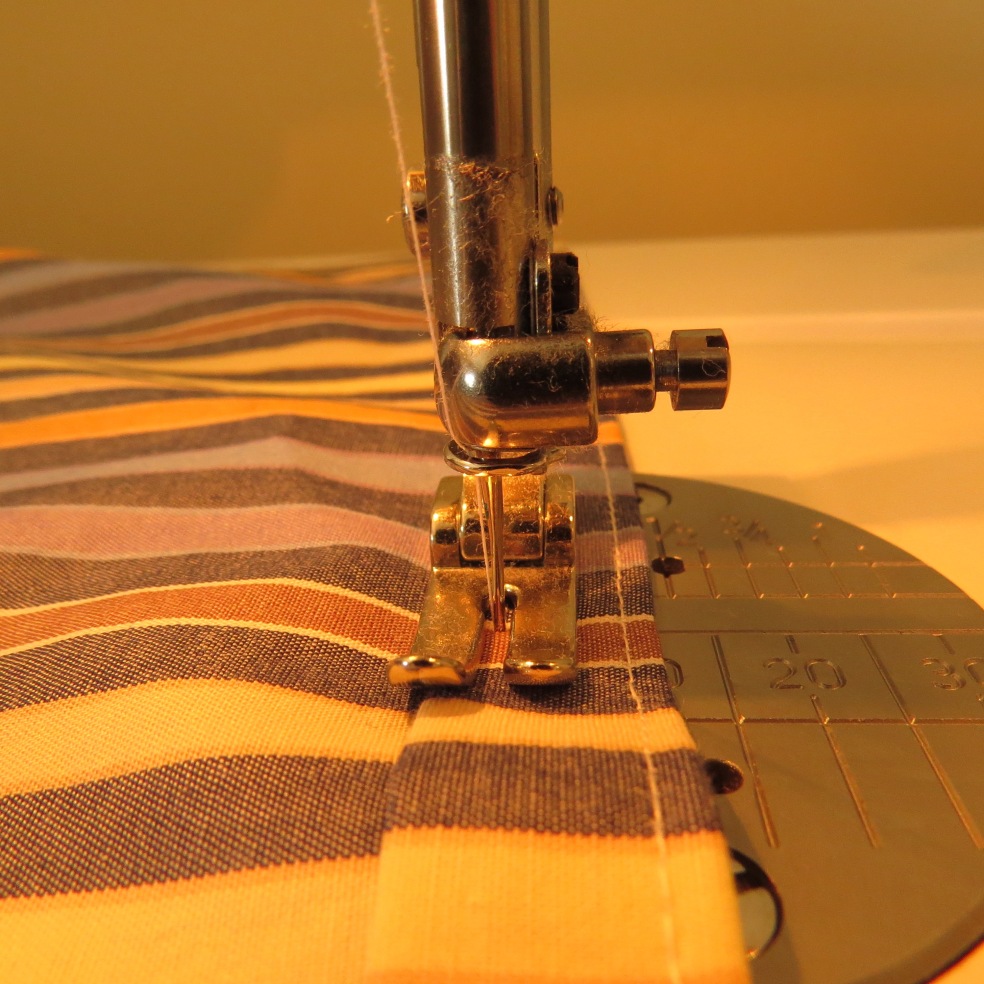
4. Sew 1/8″ away from the edge on both lengths. I’m using a 2mm stitch length here.

IMG_9740

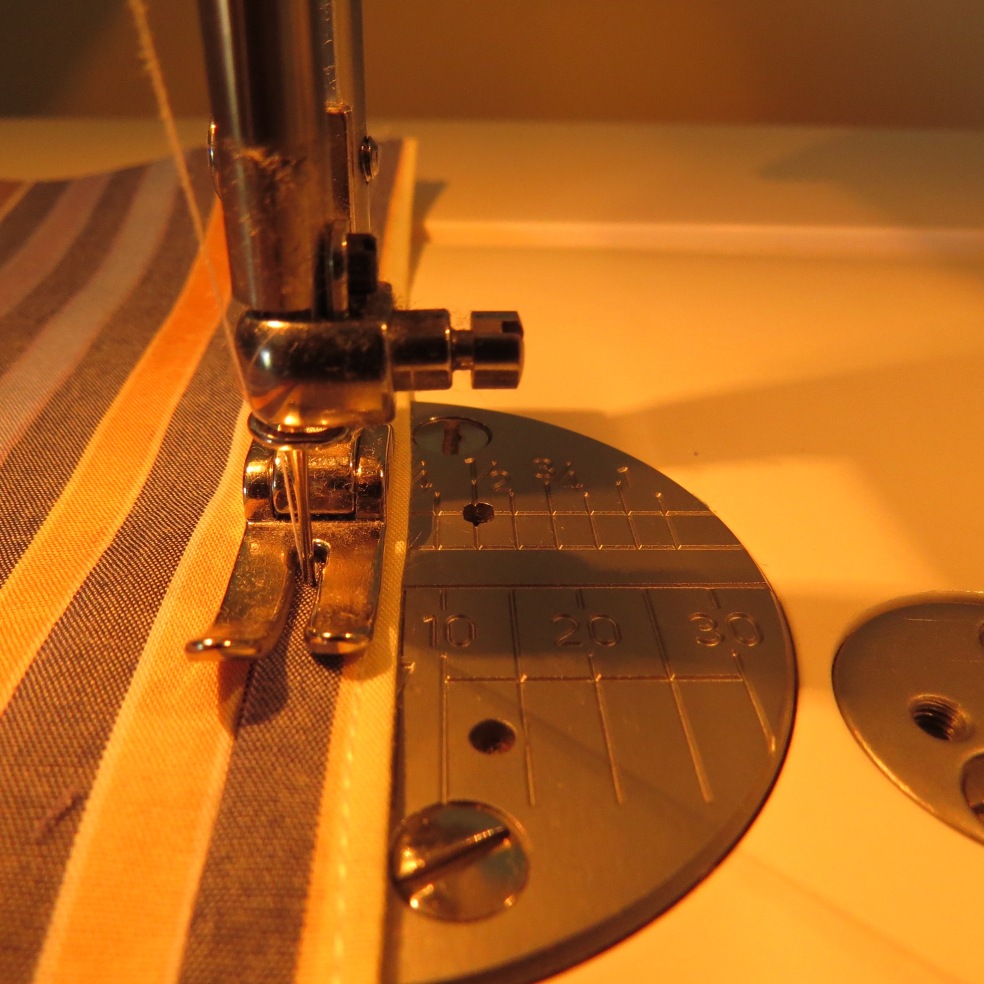
5. Sew 1/4″ away from the edge of both lengths, creating a parallel line to the first.  Now the lengths should be completely sewn.

IMG_9751

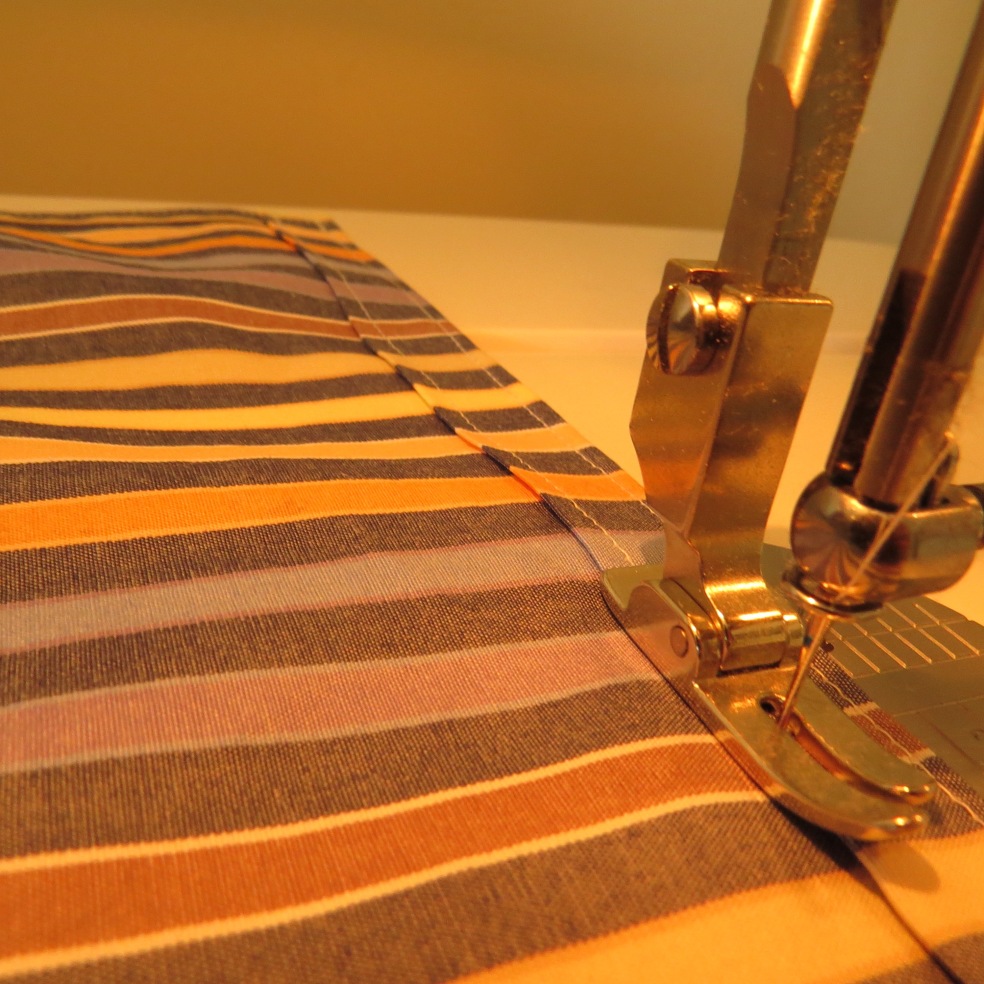
6. Turn to the width edges. Press and fold each width edge 1/2″, and then fold and press it 1/2″ again, pinning the edge to hold it in place until sewing. Repeat this on the other width.

IMG_9745

7. Sew 1/8″ in from the edge on both widths.

IMG_9746

8. Sew a 1/4″ from the edge on both widths.

IMG_9749

9. Trim up any loose threads. Admire your tea towels!

IMG_9754

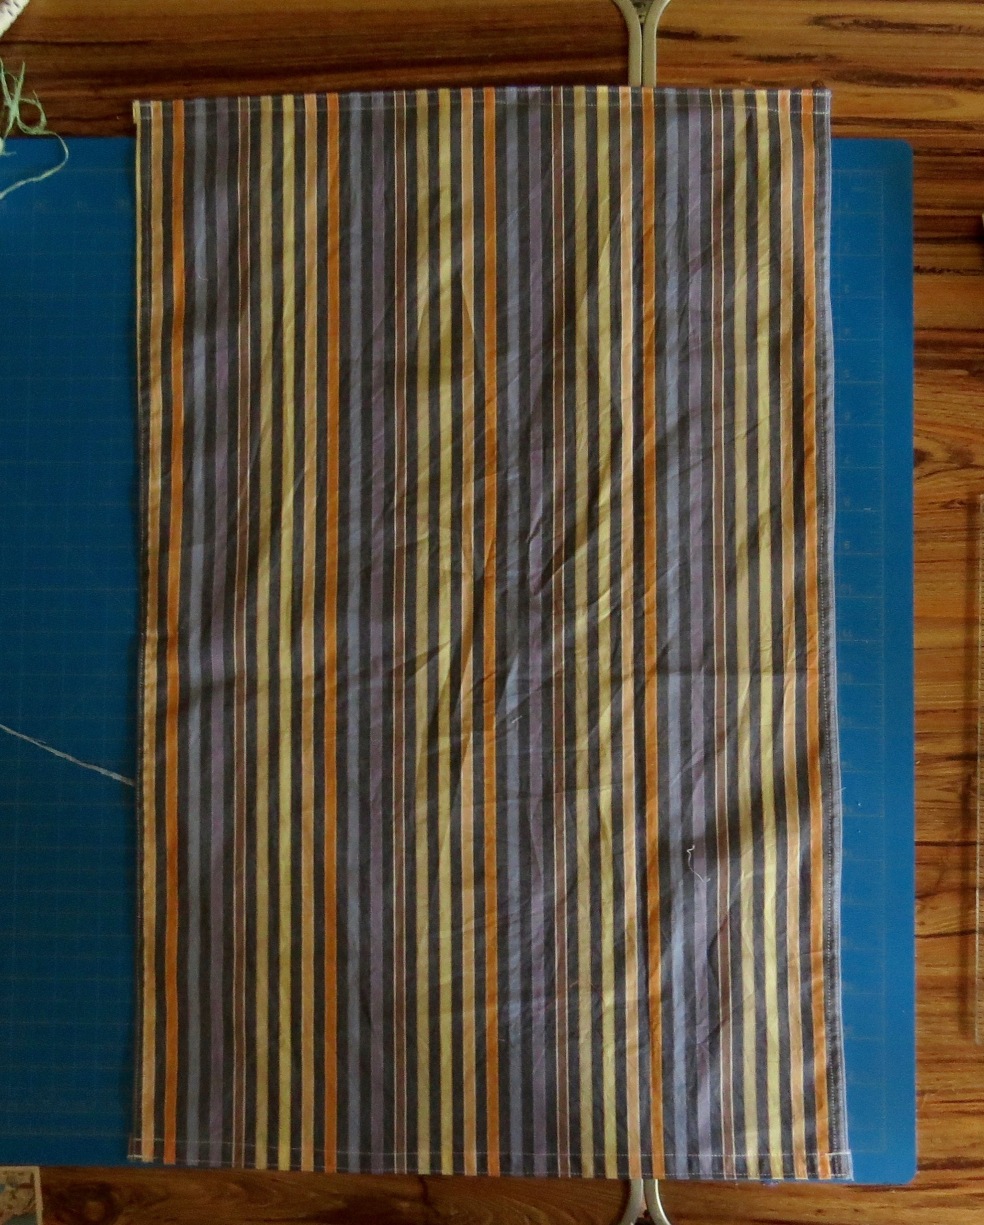
10. This is a prefect item to embellish. I went for a little spot in each of the bottom right corners. You might want to put your initials or maybe an important date.

IMG_9777

IMG_9779

Thanks for stopping by! Hope you make some awesome towels.

Easy Pillow Covers

A few months ago a cousin and I made a trip to the fabric store and then by the Goodwill for some pillows. The Goodwill has great deals on pillows, especially for pillows that will receive a lot of good use. I referenced the blog Hey There, Home’s post on How to Make an Envelope Pillow Cover.  I really enjoyed the clear instructions shown on Hey There, Home. My method was basically the same.

Here are the pillows pre-covering.

IMG_9634

After measuring each pillow, I cut the fabric with a half inch seam added to the overall size.

IMG_9641

The pinning.

IMG_9647

IMG_9655

I marked the corners before sewing and using the serger on the edges.

IMG_9657

IMG_9658

IMG_9659

A covered pillow!

IMG_9660

IMG_9662

A long pillow covered.

IMG_9664

IMG_9666

IMG_9669

IMG_9668

IMG_9672

A complete set.

IMG_9677


This has been such an exciting month. A big thank you to all of those backers that helped fund our Kickstarter campaign–the support is stunning and I look forward to the stitching! We’ve been super busy with regular life. We are grateful for our good health.

Sending all our best to everyone!

Quilt Completed

This quilt started last year as two separate pieces from an in-person class at Country Roads Quilt Shoppe and a Carolyn Friedlander paper piecing creativebug tutorial. After combining the two pieces into one I added a border to even out the prints and piecing.

From West Virginia to Las Vegas and then to Virginia, this quilt was snuggled under after becoming only a sandwich! It also had a lot of machine quilting removed and redone; I found this task trying, but necessary.

IMG_9532

For the paper piecing I used the scrap stash, with many of the fabrics being from Moda.

IMG_9534

Quilting free form lines mesmerizes me because of the movement given to the quilt.

IMG_9535

Many of these fabrics are from projects I completed prior to making this blog. It’s wonderful to see those scraps from previous projects, efforts, and little things of love I sent off in the world.

IMG_9536

The main border fabric is from “Honeymoon” by Sarah Watts for Cotton + Steel. It reminds me of James Wright.

IMG_9550

Since I’m a Robert Kaufman and Carolyn Friedlander fan this wide backing was perfect. It adds a nice softness.

IMG_9549

The sunlight gives the machine quilting great shadows. Aurifil thread was used on this quilt.

IMG_9547

One quilt done and another one on the way.

IMG_9552

Our Kickstarter is going amazingly well. Thank you to all the supporters and those that have enjoyed the work. We’re really excited to being working on a new series of embroidery projects, and to be expanding Brambleton Threads.